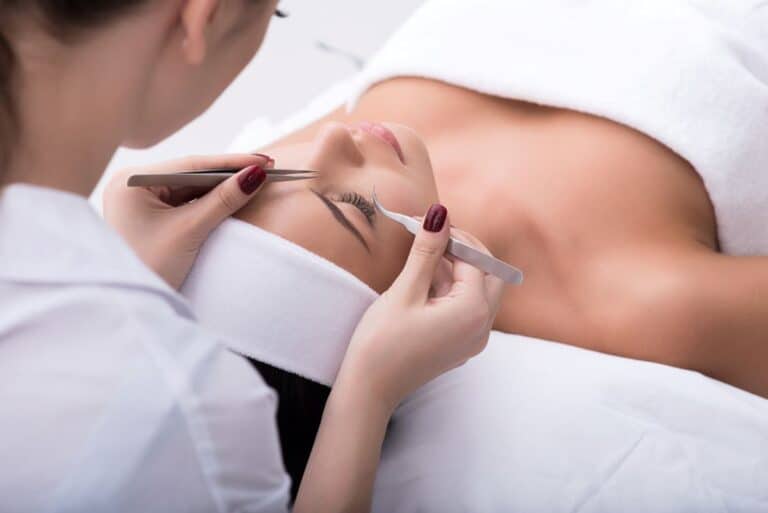

Makeup Tips For Senior Portraits
Senior year brings plenty of milestones, and senior portraits are one of the most lasting ways to capture this stage before graduation.
Along with graduation and prom, senior portraits give you a chance to document your style, interests, and personality in a way that feels personal.
Senior portraits work best when the styling still feels recognisably like you, so makeup should support your features and personal style rather than follow a single “camera-ready” formula.
You can also get creative with your senior portrait session by changing outfits, shooting outdoors or in a studio, and choosing locations or props that reflect your interests.
Getting ready for a senior portrait session can still feel stressful, especially if you are coordinating outfits, hair, makeup, and multiple locations.
You may need to coordinate outfits, hair, and makeup across different locations and lighting conditions, so a look that is easy to maintain and touch up can make the session simpler.
Deciding on a makeup look is easier when you test the complete routine in advance, including foundation, powder, sunscreen, blush, lip colour, and any highlighter, then check it in daylight and with flash.
One photography issue to watch for is flashback, where a base or powder can photograph noticeably lighter or ashier under direct flash than it looks in the mirror.
Rather than avoiding entire product categories, focus on good shade matching, thin layers, flash testing, controlled shine, and familiar techniques.
What are some makeup tips to use in senior portraits?
For senior portraits, match your base to your actual skin tone, test the finished makeup with flash before the session, and build blush, brows, lashes, and lips gradually so your features still read clearly on camera. Neutral makeup is an easy timeless option, but bold liner, colour, or lipstick can photograph beautifully when it reflects your normal style.
Senior Portrait Makeup At A Glance
- Base: match foundation or skin tint to your real skin tone and blend carefully around the jaw, hairline, and ears.
- Flash: photograph the completed look with direct flash before the shoot to check powder, sunscreen, concealer, and highlighter.
- Colour: build blush and lip colour gradually so the face does not look washed out in brighter lighting.
- Eyes: define brows and lashes enough to show clearly, then choose neutral or bold eye makeup based on your normal style.
- Outdoor shoots: wear sunscreen and choose a formula that you have already tested under makeup and on camera.
- Touch-ups: bring blotting papers or powder, lip colour, concealer, cotton buds, and a small mirror.
How To Prepare Your Makeup Before Senior Portrait Day
- A week or more before: decide on the general makeup style and avoid scheduling the first use of an aggressive new skincare treatment right before the shoot.
- A few days before: do a complete makeup trial with the sunscreen and complexion products you actually plan to wear.
- During the trial: take photos in natural light, indoor light, and direct flash. Check the face against the neck and chest rather than judging the base in a mirror alone.
- The day before: clean the tools you plan to use and pack your portrait-day products so nothing important is missing.
- On shoot day: use familiar skincare and makeup, allow each layer to settle, and leave enough time that you are not rushing the base, liner, or lashes.
How To Choose The Best Makeup Look For Senior Portraits
Start by planning the makeup around the outfits, locations, lighting, and amount of time you will have for touch-ups.
First, consider your outfits and how many outfits you’ll be changing into for your shoot.
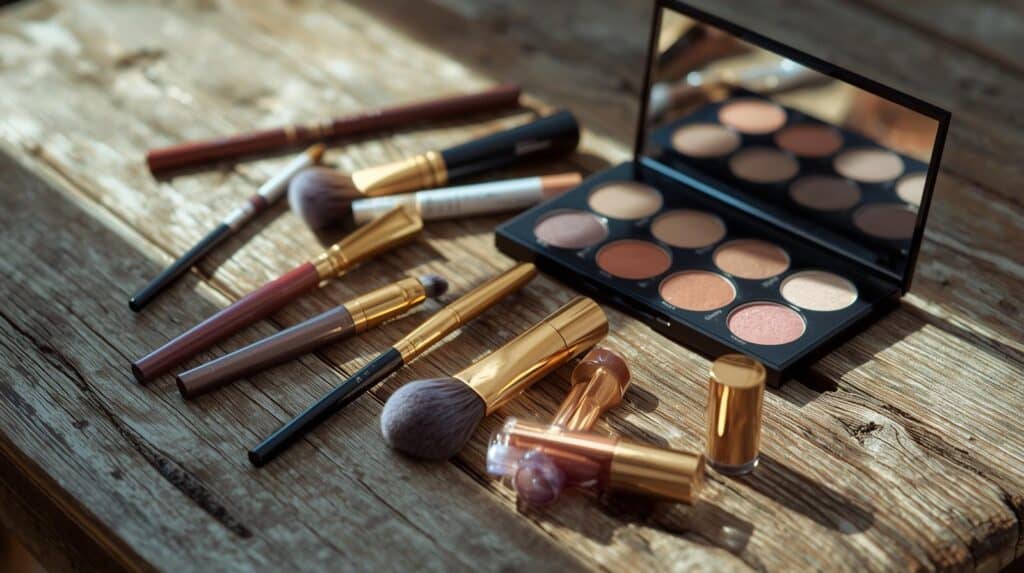
This helps you decide whether one versatile makeup look will work for the full session or whether you want a small change, such as switching the lip colour or adding liner for a later outfit.
Keeping the same base throughout the session is usually easiest. Small changes to the lip, liner, or cheek colour are faster than rebuilding the entire face between outfits.
A Simple Portrait-Friendly Makeup Formula
- Prep with the skincare and sunscreen combination you already know works under your makeup.
- Apply foundation, skin tint, or concealer in thin layers, keeping the shade matched to your actual skin.
- Add enough blush or bronzer to restore natural dimension, then check it in a photo before adding more.
- Define the brows and lashes so they remain visible in both colour and black-and-white photos.
- Choose a lip colour that works with the outfits. A nude, rose, mauve, peach, berry, or red can all photograph well when the depth suits your complexion.
- Set only the areas that need it and keep powder lighter on naturally dry or textured areas.
Skin Prep For Senior Portrait Makeup
Portrait makeup usually sits best on skin that feels comfortable rather than aggressively scrubbed or over-treated. Use the skincare routine your skin already tolerates and give moisturizer and sunscreen time to settle before applying complexion products.
Avoid introducing a new exfoliant, peel, retinoid, facial treatment, or unfamiliar skincare product immediately before the session just because you want the skin to look “extra smooth.” Irritation, peeling, or unexpected dryness is harder to cover than normal skin texture.
Dos And Don’ts Of Makeup For Senior Portraits
The most useful dos and don’ts are less about wearing a specific amount of makeup and more about testing the products, keeping the base consistent, and avoiding last-minute surprises.
There is no single “correct” amount of makeup for portraits. The goal is to choose a look that still feels like you and holds up well under the lighting and camera setup.
If you want a lower-risk option, avoid trying an unfamiliar technique for the first time on shoot day. If bold or experimental makeup is part of your usual style, it can absolutely belong in your portraits.
Dos
Some useful senior portrait makeup steps include practising your desired look, testing it in photos, and using a camera-friendly powder that does not leave an obvious cast.
Makeup can read differently in photos than it does in a bathroom mirror, especially under flash or strong studio lighting, so a trial helps you fine-tune the finish.
Follow these tips below if you plan on doing your own makeup for senior portraits.
Trial Session
Senior portraits do not need to look flawless to be successful, but planning ahead can make the day feel easier.
One way to minimise stress on the day of your photoshoot is to have already practiced the makeup look you want.
A trial session lets you test product wear, colour balance, and how the makeup looks on camera before the actual shoot.
A trial also tells you how long the routine takes, which products need touch-ups, and whether anything separates, creases, oxidises, or photographs differently after a few hours.
Stick To Neutrals
A neutral colour palette is a useful starting point if you want a classic result that coordinates easily with several outfits.
Neutrals are easy to coordinate with multiple outfits and locations, which is why they are a popular choice for portrait sessions.
Also, feel free to experiment with a bold lip or dramatic liner towards the end of your shoot.
In black-and-white photos, contrast and placement matter more than the exact colour, so defined brows, lashes, blush, and lip shape can still read clearly.
Matte Skin
You do not need completely matte skin for portraits. A natural glow can photograph well, but keep powder or blotting papers available for areas that become distractingly shiny.
The skin can become shinier over a long session, especially in warm conditions. A small amount of powder or blotting paper can reduce unwanted shine without flattening all natural dimension.
Match Foundation Carefully
Flash and studio lighting can change how contrast and texture look in a photo, but your foundation should still match your actual skin tone.
Do not deliberately use a foundation one or two shades darker just for photos. A mismatched base can create an obvious line at the jaw or make the face look different from the neck and chest.
Instead, test your normal foundation in natural light and with flash, then add warmth with bronzer or blush if the complexion needs more dimension.
Also, remember to blend the foundation down your neck to avoid harsh lines.
Don’ts
On shoot day, avoid changes that you have not already tested, especially with base products, powder, sunscreen, false lashes, or unfamiliar long-wear formulas.
Mineral Makeup
You do not need to avoid every mineral makeup product. Flashback depends on the specific formula, how much product is applied, and the lighting rather than the word “mineral” alone.
Some powders with highly reflective or pale ingredients can look lighter under direct flash, especially when they are applied heavily.
A quick phone-camera flash test during your trial is an easy way to catch this before the session.
Choose complexion products that match your skin well and apply setting powder only where you need it.
If you use translucent powder, test it on your skin first because some “translucent” formulas can still look pale or ashy on deeper complexions.
SPF
SPF is still important for outdoor shoots. Some mineral sunscreens can leave a visible cast on certain skin tones, while many chemical, hybrid, and tinted mineral formulas photograph more naturally.
You can use a facial moisturising SPF that works well under your makeup, but test the finished combination with flash beforehand.
Do not rely on an SPF makeup setting spray as your only sunscreen unless you can apply the labeled amount evenly enough to achieve the stated SPF. A regular sunscreen layer underneath makeup is more reliable for outdoor protection.
Heavy-Handed Makeup
Avoid using a heavy hand when applying makeup. You do not automatically need more makeup for photography, and applying too much at once can create a cakey or dried-out effect.
Instead, work lightly because you can always add more makeup if needed.
If you want stronger definition in photos, build specific areas such as brows, lashes, blush, or lips rather than simply making every layer heavier.
New Makeup Techniques
Avoid trying last-minute makeup techniques or brand-new products on the day of your senior portraits, especially anything that could pill, oxidise, irritate, or behave differently under flash.
If you want to experiment with a new colour or technique, test it before the session so you know how it wears and photographs.
On shoot day, familiar techniques are simply easier to execute under time pressure.
Shooting Senior Portraits Indoors
For an indoor or studio session, the main variables are the photographer’s lighting, how close the portraits are framed, and whether direct flash will be used.
For a studio session, the photographer’s lighting setup matters more than whether your makeup is “studio” makeup or everyday makeup.
Blend Foundation Down The Neck
Make sure your base makeup, such as foundation or skin tint, is blended cleanly around the jawline, hairline, and ears.
So, you’ll need to blend the foundation down the neck to avoid harsh lines.
If your face and chest naturally differ in tone, blend or lightly adjust exposed areas only if needed. There is no need to cover the entire décolletage with foundation unless that is part of your preferred finish.
Bold Eyeliner
A studio can handle both subtle and bold makeup. The better choice depends on your styling, wardrobe, and the lighting plan.
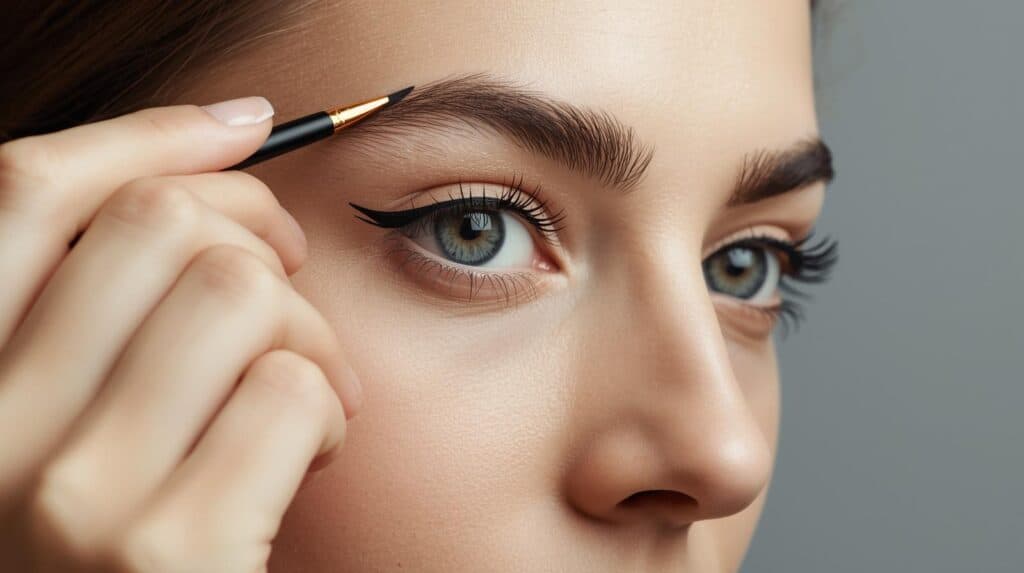
For example, black winged eyeliner can create a sharper, more defined eye shape in photos.
Black liner tends to create clear contrast, while brown or charcoal can give a softer effect.
You can also choose a bold eye, lip, or cheek if it fits your look, but do not assume flash will automatically tone down the intensity.
Shooting Senior Portraits Outdoors
An outdoor photoshoot introduces natural light, weather, wind, heat, and possible sunscreen touch-ups, so durability and easy maintenance become more important.
Natural light reveals texture and colour very clearly, so outdoor makeup often benefits from thin, well-blended layers rather than a heavy base.
Keep Base Makeup Minimal
For a natural-light look, keep the base in thin, well-blended layers and add coverage only where you actually want it.
Keep your foundation matched to your skin whether you are indoors or outdoors, and adjust coverage only where you want it.
You can always add more makeup if necessary to gradually build up the intensity.
Choose Eyeshadow Over Eyeliner
If you want softer definition outdoors, try a smudged shadow or pencil liner instead of a very sharp, heavy line.
Bold eye makeup can still work beautifully in natural light; the key is making sure the edges, symmetry, and colour intensity look the way you want in close-up photos.
Softer makeup is simply one option if you want the outdoor setting and natural features to remain the main focus.
Additional Makeup Tips
A few small practical choices can make the makeup easier to maintain through outfit changes, heat, wind, and a long session.
Bring a small touch-up kit rather than your entire makeup collection so you can fix shine, lips, minor smudges, or faded cheek colour without slowing the session down.
Opt For A Lively Blush
A bright or lively blush can add colour back to the face and help the cheeks show up clearly in photos.
Build blush gradually. If you apply too much, a clean brush, sponge, or a small amount of leftover base product can soften the edges without adding a thick layer of foundation.
Apply Gloss For Texture And Shine
You can easily add texture and shine to your makeup by wearing lip gloss.
Gloss adds reflected light and texture, although it may need touch-ups and can catch flyaway hairs during outdoor sessions.
It’s also easy to apply and touch up.
Always Have A Touch-Up Kit On Hand
Pack essentials such as blotting papers or powder, concealer, your lip product, cotton buds, a small mirror, tissues, and any brow or lash product you know you may need.
This kit lets you blot, retouch lips, clean small smudges, or add definition between outfits without redoing your whole face.
It’s also great if you plan on changing your makeup for each outfit.
Consult With Your Photographer
Choose a photographer you feel comfortable communicating with, especially if you want to review how the makeup is reading under the planned lighting.
Before the session, discuss the planned locations, outfit changes, lighting, close-up shots, and whether direct flash is likely.
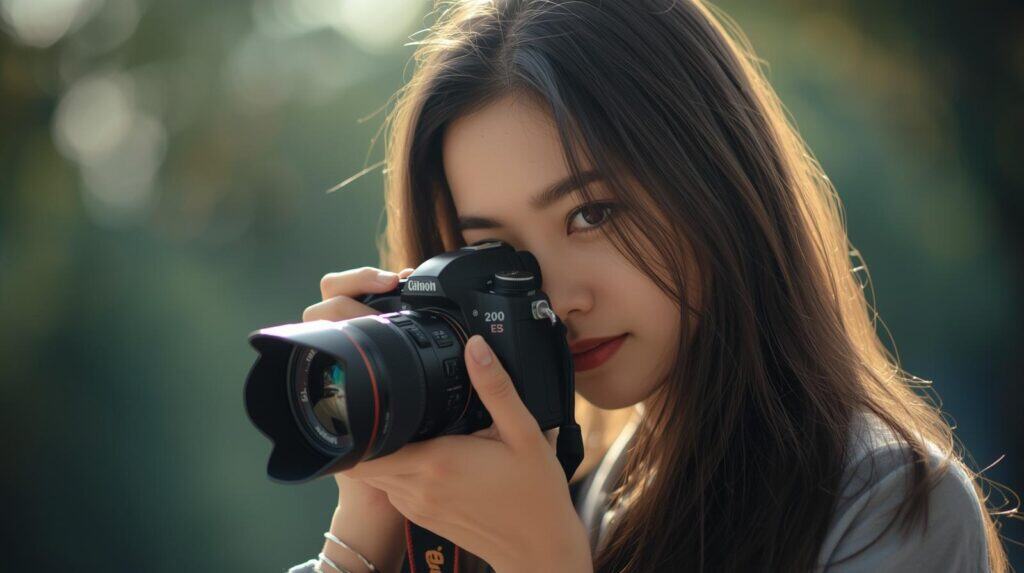
You can also ask your photographer to show you a preview so you can check shine, lip colour, hair placement, and whether the makeup is reading the way you expected.
A quick preview makes it easier to catch small issues before the session is over.
Seek Help From A Makeup Artist
If you prefer not to do the makeup yourself, a professional makeup artist can be useful, but it is optional rather than necessary for good senior portraits.
A makeup artist can reduce some of the pressure of getting ready and tailor the products to your skin, style, and the planned lighting.
If you book one, share reference photos and explain how much makeup you normally wear so the final result still feels like you.
Senior Portrait Makeup FAQs
Should You Wear More Makeup For Senior Pictures?
Not automatically. Cameras and lighting can reduce the visibility of some colour, but the better approach is to build specific areas such as blush, brows, lashes, or lips after checking a test photo rather than making every layer heavier.
Should Senior Portrait Makeup Be Matte?
No. A satin or natural finish can photograph beautifully. The goal is usually to control distracting shine rather than remove all dimension, so powder mainly where you need it.
Can You Wear Sunscreen For Senior Portraits?
Yes, and sunscreen is especially important for outdoor sessions. Choose one that works under your makeup and test the complete combination with flash beforehand rather than skipping SPF because of a general flashback rule.
What Lip Colour Works Best For Senior Pictures?
Nude, rose, mauve, peach, berry, brown, and red can all work. Choose a depth that shows clearly against your complexion and coordinates with the outfits rather than assuming every portrait needs a pale neutral lip.
Should You Use False Lashes For Senior Portraits?
Only if you like how they look and have already practised wearing them. A light strip, clusters, individual lashes, or simply mascara can all work. Avoid using a new lash style or adhesive for the first time on shoot day.
Final Takeaway
The best senior portrait makeup is the version that still looks like you while holding up under the camera and lighting. Match the base correctly, test the finished look with flash, keep the skin comfortable, build colour gradually, and bring a few reliable products for touch-ups.
If you usually wear bold makeup, you do not need to abandon it for portraits. If you rarely wear makeup, you also do not need a full-glam routine. A well-tested version of your normal style is more useful than following a rigid photography rule.
Related Articles
Best Masculine Makeup Tips – Including Contouring
How To Make Hazel Eyes Look Greener With Makeup