
How Much Makeup Is Too Much?
Makeup can be expressive, practical, subtle, or dramatic, depending on the look you want to create.
For some people, applying makeup is also a creative ritual or a relaxing part of getting ready.
There is no universal amount of makeup that counts as “too much.” The better question is whether the products are giving you the finish, comfort, and wear time you want.
A mismatched foundation shade, too much powder for your skin type, or several heavy layers can make makeup look more obvious than intended.
Full-glam techniques can look beautiful, but they are not necessary for everyday wear unless that is the style you enjoy.
Some people prefer a bold, layered look, while others want their makeup to look barely there. Neither approach is inherently better.
If your goal is a natural-looking finish, the easiest approach is usually to start with less product and build only where needed.
How much makeup is too much?
There is no fixed amount of makeup that is “too much.” For a natural or everyday look, signs that you may have gone beyond your intended finish include foundation separating, powder emphasizing texture, heavy product transfer, clumpy lashes, harsh unblended edges, or layers that feel uncomfortable. The goal is balance, not a specific number of products.
A full face of makeup can still look polished and cohesive when the shades, textures, and application techniques work well together.
Likewise, a minimal routine can still look uneven if the shade match or blending is off. The amount of product matters less than how it performs on your skin.
Applying thin layers and reassessing as you go makes it easier to stop when you have reached the coverage or intensity you want.
How To Avoid Wearing Too Much Makeup
If your goal is a lighter everyday finish, a few application clues can tell you when you may be using more product than you need.
Most of these issues have simple fixes, from changing the amount you apply to adjusting the formula, shade, or tool.
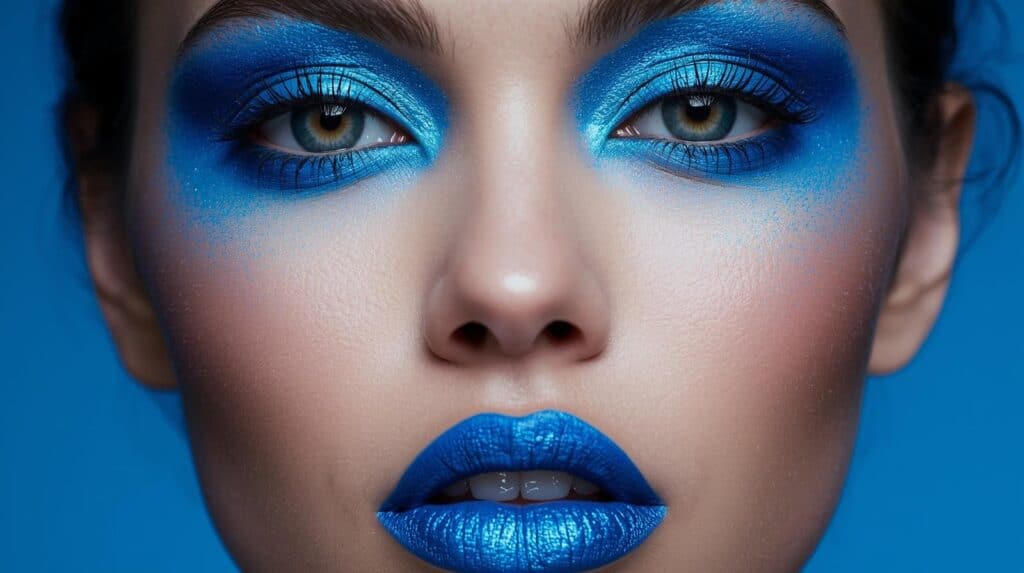
Of course, makeup is personal. A bold look is not automatically “too much” if it matches your style and feels comfortable to wear.
This guide focuses on how to avoid an accidentally heavy or cakey finish when your goal is natural-looking everyday makeup.
1. Orange Cake Face
One common base-makeup problem is a foundation shade that looks too orange, too dark, or too warm compared with the neck and chest.
Foundation can also look heavy when the formula is not a good match for your skin or when too much is layered over textured, dry, or oily areas.
Choose both the shade and finish with your skin and desired coverage in mind.
A heavier foundation does not automatically cause separation. Cakiness is more often related to excess product, incompatible skincare and makeup layers, dryness, oil breakthrough, or too much powder.
If the foundation does not match the surrounding skin, a visible line of demarcation can make the base look heavier than it really is.
Fortunately, both shade mismatch and over-application are usually easy to correct.
Choose a foundation formula that suits your skin type, preferred finish, and coverage needs.
If you want more coverage, build it in thin layers or spot-conceal where needed rather than automatically using a thick layer over the entire face.
People with acne-prone, dry, oily, or sensitive skin may also prefer formulas designed around those concerns, but the complete ingredient list and how your skin responds matter more than marketing labels alone.
For the shade, test foundation along the jawline and compare it with your face, neck, and upper chest so the overall result looks cohesive.
Check the swatch in natural daylight and indoor lighting, and give it a few minutes in case the formula dries down slightly darker or warmer.
You can blend a small amount just past the jawline if needed, but you should not have to coat your entire neck to make the shade work.
If a shade only looks correct after heavy blending down the neck, it is usually worth trying a closer match.
2. Too Many Bold Colors
Bold color can be one of the most fun parts of makeup, whether you prefer a bright lip, graphic liner, or vivid shadow.
Using several bold elements at once is not inherently wrong, but it can make the look feel busier if you were aiming for something understated.
If you want an easy everyday balance, choose one area to emphasize and let the other features support it.
For example, a vivid eye, saturated blush, and bold lip can absolutely work together, but a softer supporting palette may be easier if your goal is a more relaxed finish.
Think of it as visual balance rather than a rule that says only one feature is allowed to stand out.
If you love blue eyeshadow, for example, pairing it with a softer peach blush and neutral lip can keep the attention on the eyes.
That lets the eye color remain the focal point without making the rest of the face look unfinished.
Peach can also sit beautifully next to blue because warm orange-leaning tones contrast with blue on the color wheel.
Use as many bold elements as you enjoy, but edit the look if it feels more intense than you intended.
The most flattering version is the one that looks intentional and feels like your style.
3. Powder Overload
Powder is not outdated, and setting the entire face is not automatically a mistake. The problem is simply using more powder than your skin or base needs.
Some people with oily skin prefer a more thoroughly powdered finish, while dry or textured skin may look better with powder only in selected areas.
So the goal is not to avoid powder, but to use enough to control shine and improve wear without creating a dry, chalky layer.
Powder can add visible texture when too much is layered over foundation or concealer.
It may also make dry areas look more noticeable, particularly around fine lines or flaky patches.
Used strategically, however, powder can reduce shine, set cream products, and improve makeup longevity.
A finely milled loose or pressed powder is often easier to apply in a very thin layer.
Translucent powders can minimize added color, although some formulas can still leave a cast on deeper skin tones, so shade selection matters.
Apply a light amount where you become oily or where makeup tends to crease or move first.
Common areas include the t-zone and under-eye area, but the exact placement should depend on your skin rather than a fixed map.
This can improve wear while keeping the rest of the complexion looking more skin-like.
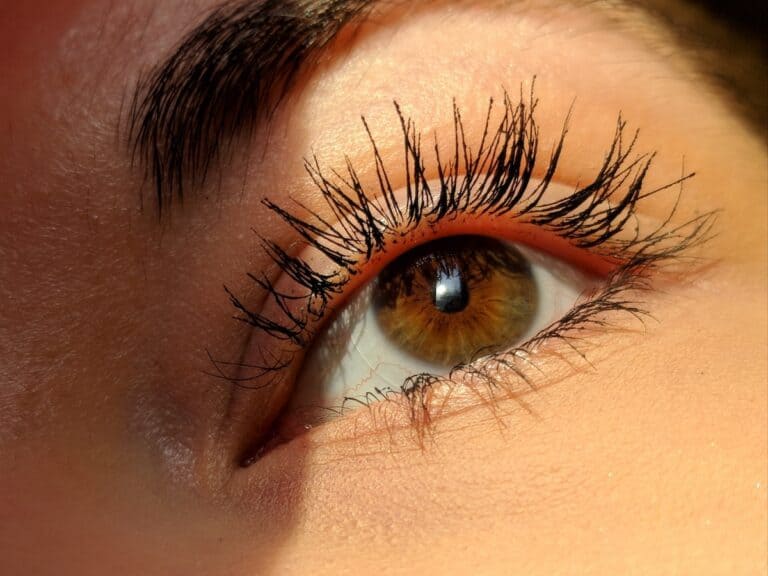
4. Spider Lashes
Whether you use mascara or false lashes, very dense or clumpy lashes can overpower the eye shape if that is not the effect you want.
Mascara builds length, volume, and definition, but repeated coats can make the lashes stick together or become crunchy depending on the formula.
False lashes can also look less natural if the band is too long for the eye or the style is much denser than the rest of the makeup.
“Spider lashes” usually refers to lashes that have clumped into a few thick spikes rather than remaining visibly separated.
To reduce clumping, wipe excess mascara from the wand if needed and build in thin coats while the formula is still workable.
Concentrating product near the roots and combing upward can add definition without loading every part of the lash with the same amount.
A clean spoolie can also help separate lashes before the mascara fully sets.
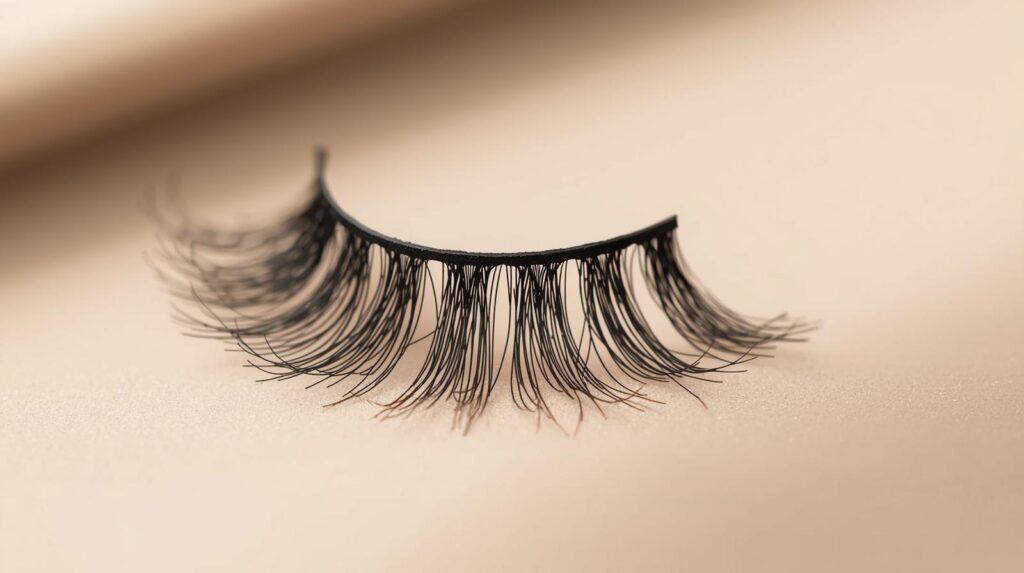
If you enjoy false lashes, lighter strips, half lashes, or individual clusters can add emphasis without covering as much of the lid.
The best lash style depends on your eye shape, makeup style, and how dramatic you want the final look to be.
Lashes can be a subtle accent or the main feature. Neither approach is automatically too much.
5. Improper Lighting
Your lighting can affect how much product you think you need while applying makeup.
In a dim room, it is easier to miss uneven blending or keep adding color because the makeup looks softer than it will in brighter light.
Whenever possible, apply makeup in an evenly lit area and check both sides of the face before adding more.
This gives you a better idea of how the makeup will look in typical indoor and outdoor settings.
If natural light is limited, a neutral, bright mirror light can be more practical than going outside every time you get ready.
A quick check in daylight before an event can still help you catch a mismatched shade or an area that needs more blending.
No single lighting source shows every environment perfectly, so checking your makeup in more than one type of light is the most useful approach.
6. Layering Multiple Products
Layering several products can be helpful for targeted coverage, color correction, or long wear, but each extra layer adds texture.
You rarely need several concealers in the same area unless each one is serving a specific purpose.
The same applies to bronzer, blush, highlighter, and foundation: layering is fine, but build intentionally rather than automatically.
A thick base may look smooth on camera yet feel heavier in person, especially if several cream and powder layers are sitting on top of one another.
Apply one thin layer, blend it, and then decide whether you actually need more.
This makes it easier to keep the finish even and prevents unnecessary product buildup.
Too many incompatible or heavy layers can lead to caking, pilling, patchiness, or a muddy color mix.
Makeup does not prevent your pores from “breathing” because pores do not breathe. The more practical concern is whether a product feels uncomfortable, traps sweat, or contributes to breakouts for your particular skin.
You also do not have to limit yourself to exactly one product in each category. Use as many as you need, but give each layer a purpose.
If powder-on-powder looks too heavy, cream or liquid products can create a different finish and may be easier to build in thin layers.
Cream products can blend beautifully, although they are not automatically easier or more natural on every skin type.
The best texture is the one that works with your base, skin, tools, and desired finish.
7. Dirty Tools
Your brushes and sponges can affect application because old product left in the bristles may change the color or texture of what you apply next.
How often brushes need washing depends on how frequently you use them and what products they touch. Tools used with cream products or around the eyes generally benefit from more frequent cleaning than rarely used powder brushes.
Dirty tools can accumulate makeup residue, oil, and microorganisms. That does not guarantee acne or infection, but regular cleaning is a sensible hygiene habit.
Clean tools also make it easier to control pigment and blend without old product muddying the result.
Brush cleaning does not need to be complicated.
A textured cleaning mat or drying rack can be useful, but neither is essential.
Use a gentle brush cleanser or mild soap, rinse thoroughly, reshape the bristles, and let brushes dry completely. Strong antibacterial soap is not necessary and can be harsh on some brush fibers.
Product buildup on tools is easy to overlook, especially if the same brush is used for several shades over multiple days.
Cleaning tools regularly can improve both hygiene and the consistency of your makeup application.
8. Overly Filled Brows
Bold, sculpted brows have moved in and out of trend, but brow intensity is ultimately a style preference rather than a measure of how much makeup someone “should” wear.
A highly defined brow is often created with pigmented pomade plus concealer around the edges for a crisp shape.
If that result looks stronger than you want for an everyday look, you can simply reduce the amount of pigment or soften the edges.
If you love a dramatic brow, there is no need to change it just because current trends favor something softer.
For a more natural effect, focus product mainly on sparse areas instead of filling every section to the same density.
A pencil, powder, tinted gel, or fine-tip brow pen can make it easier to add detail with less opacity than a heavy pomade application.
Hair-like strokes and visible gaps between them can create a softer finish.
You can still make the brows look full without creating a solid block of color.
Build slowly, step back from the mirror, and stop once the brows look balanced with the rest of your makeup.
9. Under Blending Or Over Blending
Blending helps foundation, bronzer, blush, and eyeshadow transition smoothly instead of ending in obvious edges.
When you are in a rush, under-blended edges can make makeup look heavier because each product remains visually separate.
At the same time, you can overblend certain products, especially eyeshadow or multiple cream colors.
Too much blending can diffuse shades until they lose contrast or mix into a muddy tone.
This is more likely when several colors are repeatedly worked together with the same brush.
Blend the edges enough to soften them while leaving the main color placement intact.
This controlled approach also helps you avoid adding extra product just to fix areas that became overworked.
Build pigment gradually, checking the shape and intensity after each small addition.
Clean brushes make this easier because they are less likely to deposit old color into the blend.
Together, clean tools and gradual layering give you more control over how polished or dramatic the final result becomes.
10. Intense Blush
Blush can be subtle, sculpting, editorial, or intentionally intense. There is no single correct amount.
Because modern blush formulas range from sheer powders to highly pigmented liquids, the amount you need varies dramatically by product.
If your blush looks stronger than you intended, the issue is usually intensity or placement rather than the fact that blush itself is “too much.”
Blush may fade during the day, but the speed depends on the formula, skin type, base products, and wear conditions.
If you deliberately prefer bright cheeks, there is nothing wrong with that. Adjust only if the result no longer matches the look you wanted.
Placement also changes the effect: higher placement can visually lift the cheek, while apples-of-the-cheeks placement can create a rounder, softer impression.
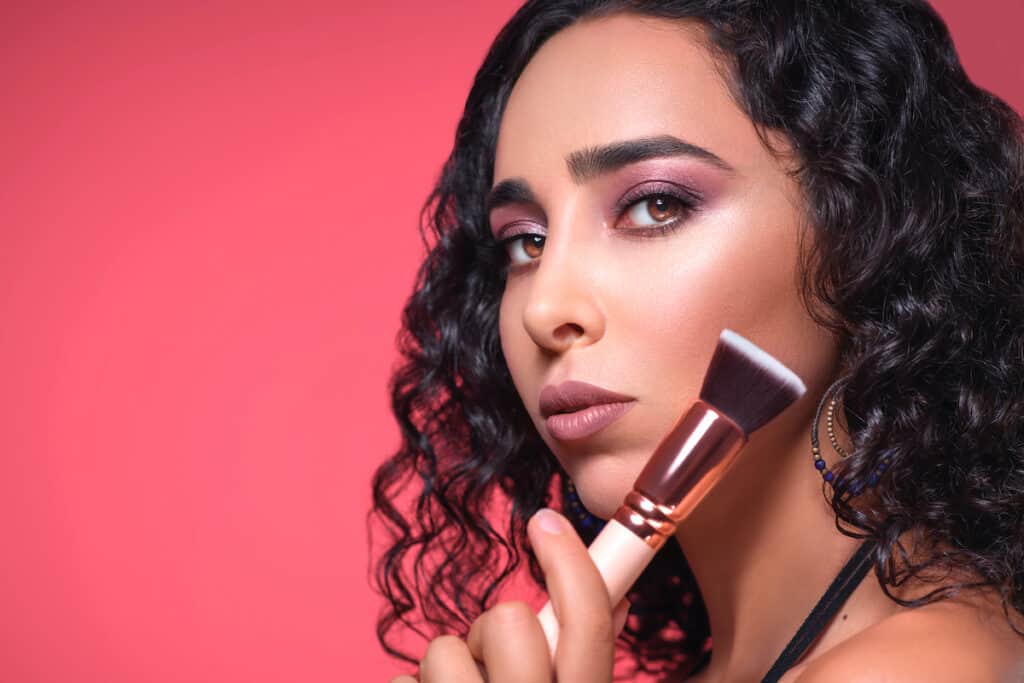
If you accidentally apply too much blush, you can soften it without removing the entire base.
For cream or liquid blush, tap over the edges with a clean sponge or the brush you used for foundation. For powder blush, a clean powder brush can diffuse excess pigment.
This reduces intensity gradually, which is safer than immediately adding another heavy layer of foundation.
Experiment with placement based on your face shape and the effect you want rather than treating one blush position as universally flattering.
11. Smeared Or Overdrawn Lipstick
Lipstick can smudge, feather, transfer, or collect in dry areas if too much is applied or if the formula does not suit your lips.
Bold shades make uneven edges easier to see, which is why precise application can matter more with deep reds, berries, or very dark colors.
You do not need lip liner for every lipstick look, but it can be helpful when you want crisp edges or extra control over feathering.
A lip liner can outline the shape and give lipstick a more defined boundary.
It can also be used over more of the lip as a colored base, depending on the formula.
A liner base may help some lip products wear more evenly, but longevity still depends on the lipstick, lip prep, eating, drinking, and application.
Using thin layers and blotting between them can reduce excess product and help prevent thick buildup.
Too many layers can collect around lip lines or dry patches, especially with long-wear matte formulas.
Overlining is also a style choice. If you want a subtle effect, keep any extension just outside the natural lip border and check the shape from normal viewing distance.
Before lipstick, smooth obvious flakes gently and use lip balm if your lips are dry. Avoid aggressive scrubbing on cracked or irritated lips.
12. Makeup Transferring
Makeup transfer onto clothing, masks, or a phone screen can happen even when you are not wearing a large amount.
Transfer depends on the formula, skin oils, friction, humidity, and how well the products have set.
If your base transfers heavily, reducing the amount may help, but it is not the only solution.
You can also adjust your primer, foundation, powder, or setting spray and give each layer time to settle before adding the next.
A setting spray can help some formulas wear more cohesively, but it does not make every foundation completely transfer-proof.
If you like using a sponge, lightly press over areas with excess foundation or concealer before setting them.
You can then apply powder or setting spray according to the needs of your skin and the formula you are wearing.
Pressing with a clean sponge can pick up excess product, but avoid repeatedly soaking the sponge with setting spray because too much moisture can disturb the base.
For touch-ups, blot oil or moisture first and then add only the small amount of makeup needed to restore coverage.
Related Articles
Can You Wear Eyeshadow Without Foundation?
13 Best Setting Powders For Dry Skin Of 2025
Eyeliner On Lower Lid Only (What To Do + What To Avoid)