
Simple Beard Butter Recipe
A beard can feel rough or dry when the hair and the skin underneath need a little more conditioning.
Beard hair and the skin underneath benefit from regular cleansing and conditioning, especially if your beard feels coarse, itchy, or difficult to style.
Beard hair is often naturally coarser than scalp hair, which can make dryness and flyaways more noticeable.
A beard butter can help coat and soften the hair while reducing the dry feel of the skin underneath.
Beard butter is usually a blend of plant butters and oils that helps condition beard hair and reduce moisture loss from the skin.
You can think of it as a richer leave-in styling conditioner made specifically for facial hair.
Depending on the formula, it can add softness, tame flyaways, and provide light styling control without the firmer hold of a beard balm.
You can make beard butter at home with a simple combination of butter, carrier oil, and optional wax or fragrance.
If you want more control over texture and fragrance, a DIY beard butter can be a practical alternative to a ready-made product.
What is a simple beard butter recipe?
A simple beard butter starts with a soft butter such as shea or cocoa butter plus a carrier oil. Wax is optional if you want more hold, and fragrance is optional. If you use essential oils, keep the amount very low because facial skin can be sensitive.
The basic ingredients are commonly used in leave-on skin and hair products.
Their main role is to add slip, softness, and an occlusive layer that helps reduce dryness.
With a simple ratio and low heat, you can make a small batch with minimal cleanup.
What Is Beard Butter?
What is the main purpose of beard butter?
Beard butter helps condition beard hair and can reduce the dry, tight feel of the skin beneath it.
As a beard gets longer, it can be harder to apply moisturizer evenly to the skin underneath, while the hair itself may feel coarse or straw-like.
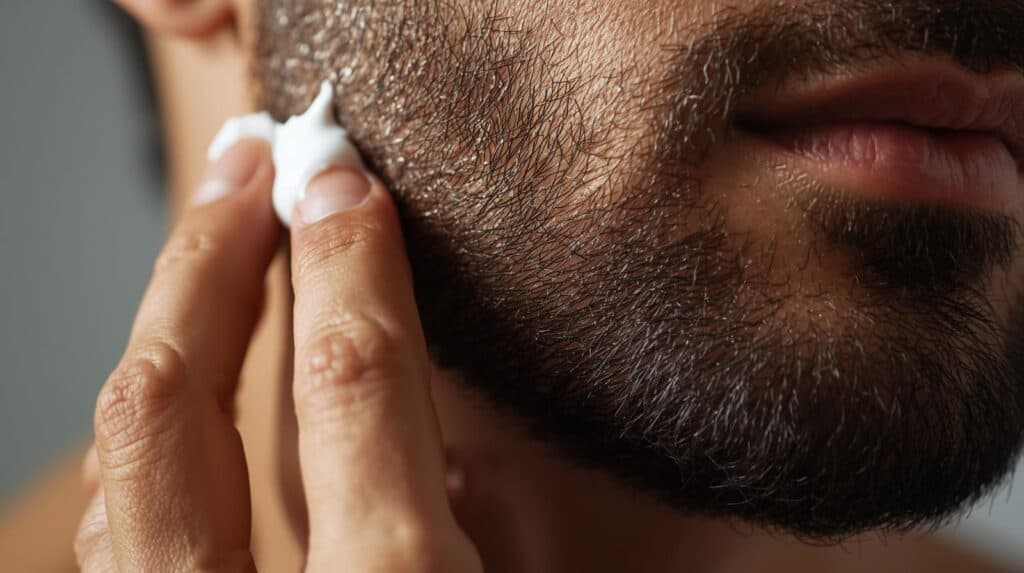
Beard butter is usually a blend of butters and oils, sometimes with wax for extra structure.
A small amount can make the beard feel softer and look more controlled, although results depend on your hair texture and how much product you use.
Because it is an anhydrous mixture with no added water, a basic beard butter is also relatively simple to make at home.
Beard butter generally sits between beard oil and beard balm: creamier and softer than most balms, but more substantial than a liquid oil.
Ingredients & Tools To Make Beard Butter
You’ll need a few ingredients to make beard butter.
Many of these ingredients are easy to find online or in stores that sell cosmetic raw materials.
If you buy ingredients in bulk, store them according to the supplier’s directions and watch for changes in smell, color, or texture that may indicate rancidity.
You will also need a heat-safe bowl or pot, a clean stirring tool, and a clean container for the finished butter.
Butter
The main structural ingredient in beard butter is usually a plant butter.
Popular options include shea butter and cocoa butter. Both are rich emollients that help soften hair and reduce moisture loss from the skin.
They are thick at room temperature but melt with body heat, which makes them easier to spread after warming a small amount between your palms.
Shea or cocoa butter can form the base of the recipe and usually makes up the largest share of the mixture.
You can even combine both cocoa and shea butter into your product if you can’t decide between the two.
Carrier Oil
Next, choose a carrier oil. These oils soften the final texture and can be used to dilute essential oils if you decide to add fragrance.
Carrier oils mainly act as emollients, helping the beard feel smoother and reducing the greasy heaviness of using solid butter alone.
Some popular carrier oils are jojoba, coconut, argan, sweet almond, rosehip, and more.
Your choice of carrier oil can depend on texture preference, skin sensitivity, allergies, and how quickly you want the butter to absorb.
Wax
Wax is optional. Adding it makes the butter firmer and increases styling hold.
For example, add some beeswax if you want your butter to hold a shape.
Beeswax thickens the mixture and can provide light control for flyaways and shape.
Essential Oils
Essential oils are completely optional. Fragrance-free is the safer starting point if your skin is sensitive, acne-prone, or easily irritated.
Essential oils can irritate or trigger allergic contact dermatitis, even when diluted. If you use them, keep the total concentration low and never apply undiluted essential oil directly to facial skin.
In a beard butter, their main practical role is fragrance. You do not need essential oils for the conditioning effect.
Metal Pot and Stirrer
You will need a heat-safe bowl or pot and a clean stirring tool.
Stainless steel, silicone, or another nonporous utensil is easy to clean and does not absorb oils or fragrance as readily as unfinished wood.
Use whichever clean, heat-safe, nonporous tools you can dedicate to cosmetic mixing.
Tin/Pot For Packaging
Finally, you’ll need a small tin or pot where you’ll package your beard butter.
Choose a clean container that can safely handle a warm oil mixture. Let the butter cool before closing the lid to reduce condensation inside the container.
Beard Butter Measurements
A DIY beard butter is easy to customize by adjusting the ratio of butter, oil, and wax.
Everyone has their personal preferences.
Wax and essential oils are optional. Leaving them out gives you a softer, fragrance-free formula.
For a beginner batch, try 2 oz of butter, 0.5 oz of carrier oil, and up to 0.25 oz of wax if you want extra firmness. Skip essential oil entirely for sensitive skin, or use only a very small amount that keeps the finished product well diluted.
Keep the butter as the largest portion so the final texture stays creamy rather than runny.
Adjust the carrier oil and wax in small increments until you get the texture you prefer.
The finished product should be soft enough to melt between your fingers but firm enough to stay in the container at room temperature.
How To Make Beard Butter
Making beard butter is straightforward as long as you keep the tools clean and use gentle heat.
A small batch is easier to manage and lets you test the texture before making more.
- Use gentle heat – A double boiler or heat-safe bowl set over gently simmering water gives you more control than direct heat. Avoid high heat because plant butters can scorch and fragrance ingredients can degrade. Use clean tools reserved for cosmetic mixing if possible.
- Add Butter and Wax – Melt the butter slowly. If you are using wax, add it at the same time so both ingredients liquefy evenly. Remove the mixture from heat as soon as everything is melted.
- Mix Until Smooth – Stir gently until the melted butter and wax are uniform and no solid pieces remain.
- Add Your Oils – Let the melted mixture cool slightly, then stir in your carrier oil. If you are using essential oil, add only a very small, well-diluted amount after the mixture has cooled somewhat. Skip fragrance entirely if your skin is sensitive or if you are unsure about a safe dilution.
- Transfer Mixture To Your Tin – Stir until the mixture is uniform, then pour it carefully into a clean, dry container while it is still fluid enough to transfer. Avoid introducing water into the mixture because a water-free formula is less prone to microbial growth.
- Let It Cool – Leave the container uncovered until the butter reaches room temperature and solidifies. Once cool and dry, close the lid. If the smell, color, or texture changes noticeably over time, discard the batch.
How To Use Your Beard Butter
Now that you have your beard butter, how do you use it?
First, you’ll want to wash and rinse your beard.
Clean hair and skin help the butter spread more evenly and reduce buildup from layering product over sweat, oil, or old styling products.
Once your beard is freshly washed, gently pat it down with a towel to prepare for your butter.
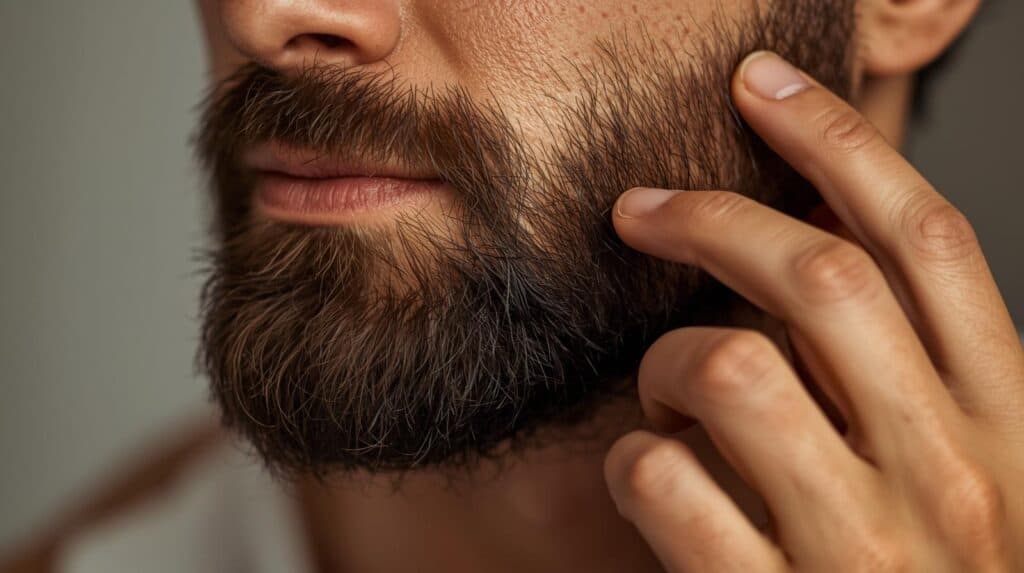
Next, take a small amount of your butter and warm it up between your palms.
Body heat softens the butter so it is easier to distribute in a thin layer.
Use your fingertips to work a small amount through the beard and lightly onto the skin underneath if your skin tolerates the formula.
Another helpful tip is to work in small sections, a little at a time.
Working in small sections helps prevent overapplication. Finish with a beard comb or brush to distribute the product and shape the hair.
Final Thoughts
Beard butter can be made with just a few ingredients, and the texture is easy to adjust from batch to batch.
Buying raw ingredients in larger quantities can lower the cost per batch, but store them properly so the oils and butters do not become rancid.
The butters and oils mainly act as emollients and occlusives, helping soften beard hair and reduce moisture loss from the skin.
The essentials are butter and a carrier oil. Wax and essential oil are optional depending on the hold and fragrance you want.
Melt the solid ingredients gently, remove them from heat, then stir in the carrier oil and any optional fragrance.
Pour the mixture into a clean, dry container and let it cool completely before closing the lid.
Use a small amount at a time and adjust the recipe if the finished butter feels too greasy, too firm, or irritating.
DIY Beard Butter FAQs
Do You Need Beeswax In Beard Butter?
No. Beeswax is optional. Leave it out for a softer, creamier butter, or add a small amount if you want the finished product to feel firmer and offer more styling control.
How Much Beard Butter Should You Use?
Start with less than you think you need. A pea-sized amount may be enough for a short beard, while longer or denser beards may need more. Warm it between your hands and add extra only if the hair still feels dry.
Can Beard Butter Cause Breakouts?
It can for some people, especially if the formula is very heavy or fragranced. If you are acne-prone, use a small amount, avoid heavily fragranced essential oils, and stop using the product if you notice persistent bumps or irritation along the beard line.
How Long Does Homemade Beard Butter Last?
A water-free beard butter can last for months when made and stored cleanly, but shelf life depends on the freshness and stability of the oils and butters you use. Store it away from heat and direct sunlight, keep water out of the container, and discard it if the smell, color, or texture changes noticeably.
Related Articles