
Can You Use Acrylic Powder As Dip Powder?
Dip nails are popular because they can create a durable, polished manicure without the bead-and-brush technique used for traditional acrylic extensions.
Dip manicures can create a hard, durable overlay without sculpting traditional acrylic with a brush and liquid monomer. The process can feel simpler once you know the steps, but it still requires careful prep, thin layers, and compatible products.
Many people also try dip nails at home because the system uses brush-on liquids and powder rather than a bead-and-brush acrylic technique.
Dip nails are done using a special dip powder.
The powders come in different colors. A dip base is brushed onto the nail, powder is applied over the wet base, and the layers are later activated and refined into a smooth coating. For hygiene, especially in salons or when sharing products, pouring powder over the nail is preferable to repeatedly dipping fingers into a communal jar.
Traditional dip systems do not require a UV or LED curing lamp, although you still need the compatible base, activator, finishing liquid, files, and other prep tools specified by the system.
If you want to do dip nails at home, buying several dedicated dip powders can add up, especially if you like changing colours often.
That leads to a common question: can an acrylic powder you already own work with dip liquids instead?
The possible substitute is acrylic powder, but the answer depends on the exact powder and dip system.
Acrylic powder is widely available at beauty supply stores and may be less expensive than branded dip powder. Both products are based on acrylic polymers, but that does not make every acrylic powder automatically interchangeable with every dip system.
Traditional acrylic powder is intended to build acrylic nails by combining the polymer powder with a compatible liquid monomer to form a workable bead.
So, can you use acrylic powder as dip powder?
Sometimes, yes, but compatibility matters. Some acrylic powders can be used with a dip-resin system, while others may be too coarse, heavily pigmented, or formulated for traditional liquid-and-powder acrylic. The safest option is to use a powder that the manufacturer specifically says is compatible with dip liquids rather than assuming every acrylic powder will behave the same way.
Below, we’ll explain how the two systems differ, when substitution may work, which liquids should stay within a matched dip system, and how to apply the powder without unnecessary damage to the natural nail or surrounding skin.
Are Acrylic Powder And Dip Powder The Same Thing?
Many people assume acrylic powder and dip powder are the same thing because both can contain acrylic polymers, but that is only part of the picture.
They are chemically related, but there are important formulation and system differences to understand before substituting one for the other.
Traditional sculpting acrylic powder is normally mixed with monomer to create a workable bead that can be shaped over the natural nail or an extension. Dip powder, by contrast, is designed to adhere in thin layers to a brush-on resin system.
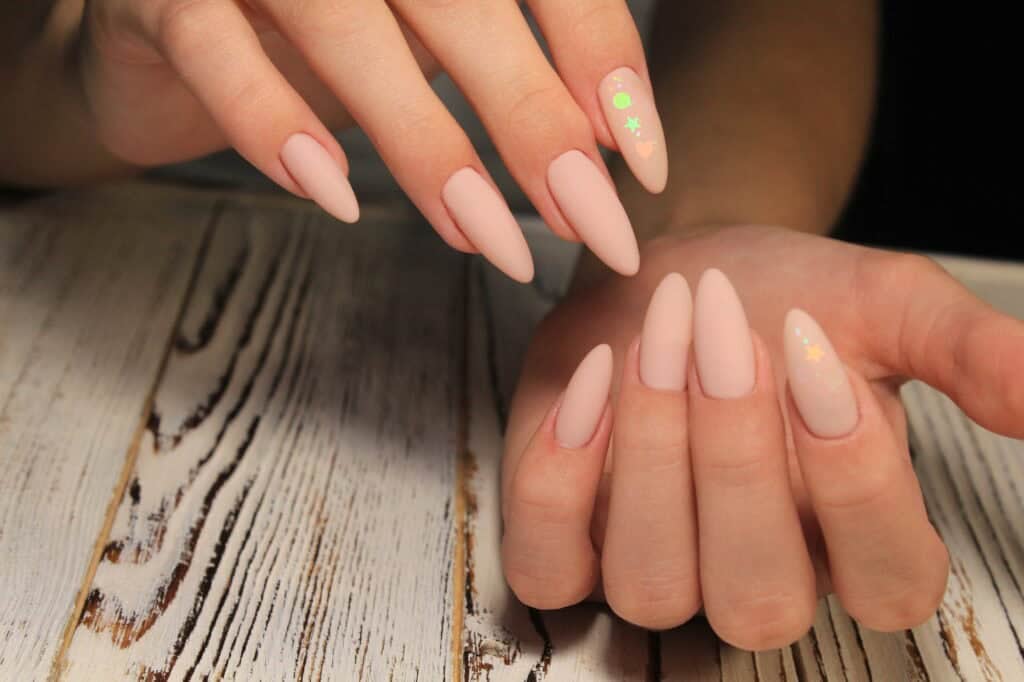
Both may contain acrylic polymer powders, but particle size, pigments, initiators, and intended liquid system can differ. That means interchangeability is product-specific rather than guaranteed.
Traditional acrylic powder polymerizes when combined with a compatible liquid monomer. Dip systems work differently: the powder adheres to a cyanoacrylate-based resin or base, and a separate activator accelerates and hardens that resin system.
The resin or adhesive is generally supplied as a separate dip liquid, not as glue already mixed into the powder.
The dip base resin is an important component because it is what the powder adheres to during each layer.
If you are substituting a compatible acrylic powder, you should still use the base, activator, and finishing liquids designed to work together as a dip system.
Ordinary nail glue may also contain cyanoacrylate, but that does not mean it should automatically replace a dip base. Viscosity, additives, brush design, and cure behavior can differ.
The key is to treat the powder as the possible substitute while keeping the dip liquids themselves compatible with one another.
What’s important to remember is that you should not improvise with nail glue unless the product directions specifically support that use. A matched dip base is the more predictable choice.
One common difference is powder fineness. Dip powders are often milled very finely so they coat evenly in thin layers, while some sculpting acrylic powders are optimized for bead control with monomer and may not level as smoothly in a dip application.
With a compatible powder, the finished result may look very similar to a standard dip manicure. With an incompatible one, you may notice graininess, uneven colour, bulky layers, cracking, lifting, or poor adhesion.
In a dip system, an activator is normally applied after building the powder layers, according to the kit instructions.
This activator is not the same thing as traditional acrylic liquid monomer.
Its role is to accelerate curing of the dip-resin system so the layered coating becomes firm enough to file and finish.
Dip kits may label their liquids differently, so identify the base, activator, and top or sealer by the manufacturer’s instructions rather than assuming the names are interchangeable.
Do not substitute traditional liquid monomer for dip activator unless a manufacturer explicitly instructs you to do so. They serve different roles in different nail systems.
How To Dip Your Nails With Acrylic Powder
If the acrylic powder is confirmed to be compatible with your dip liquids, the application can be similar to standard dip nails. Avoid mixing random liquids from different systems unless their manufacturers say they are compatible. Here is what you’ll need:
- Nail prepping tools: nail file, buffer, cuticle pusher, clippers, alcohol wipes
- A compatible dip base or resin. A product such as this nail adhesive should only be substituted if the manufacturer says it is suitable for the system you are using
- Acrylic powder that is confirmed to work with your dip liquids; clear powder is versatile if you plan to paint over it
- The activator from a compatible dip-liquid system (like this one), ideally used with the matching base and top coat
- Soft brush
- Nail polish or gel polish, if you want to add color to your nails (optional)
- If using nail tips, you’ll need those as well (optional)
Once you have everything you need, follow the steps below:
Prep Your Nails
Good preparation matters for both adhesion and nail health. The goal is to remove surface oil and loose cuticle from the nail plate without aggressively thinning or scraping the natural nail.
Good prep can improve adhesion and appearance, but excessive filing or cuticle removal can damage the natural nail or surrounding skin. Aim for clean, dry nails and gentle preparation rather than aggressive roughening.
To prep your nails, you’ll want to:
- Trim them using nail clippers to get them to the size and shape you want
- File them to smooth out the edges and perfect the shape
- Gently push back the cuticle and remove only loose non-living tissue from the nail plate; do not cut or scrape live skin
- Lightly remove surface shine only if your system calls for it. Avoid aggressive buffing that thins the natural nail
- Lastly, wipe your nails with some rubbing alcohol to remove any oils, dust, or dirt.
Apply Tips (Optional)
If you are using nail tips for extra length, apply them after your natural nails are clean, dry, and properly prepared.
To apply nail tips, follow the instructions on the package.
Usually, nail tips are attached with an adhesive intended for tips. Follow the package directions, avoid getting glue on the surrounding skin, and let the bond set before shaping.
If you are using tips, your overlay also needs enough structure through the stress area to support the added length without creating unnecessary bulk.
A reinforcing layer can help blend the transition between the natural nail and the tip when your dip system recommends it. Keep the layer controlled and avoid flooding the cuticle or sidewalls. Follow the steps below:
- Once the tips are secure, apply the compatible dip base from the center of the natural nail through the tip if your system recommends a reinforcing layer.
- Apply the compatible acrylic powder over the wet base. If products are shared, pour the powder over the nail rather than dipping directly into a communal jar.
- Tap off excess powder, then wait until the layer has set enough for your system before using a soft brush to remove loose powder.
- Proceed to the steps below.
Apply Base And Powder
This is where you build the main overlay with thin layers of compatible dip base and powder.
This process is similar to standard dip application, but the powder substitution should not require replacing the dip base with ordinary nail glue.
Remember, dip powder itself does not usually contain the brush-on glue or resin. The adhesive base is a separate liquid in the system.
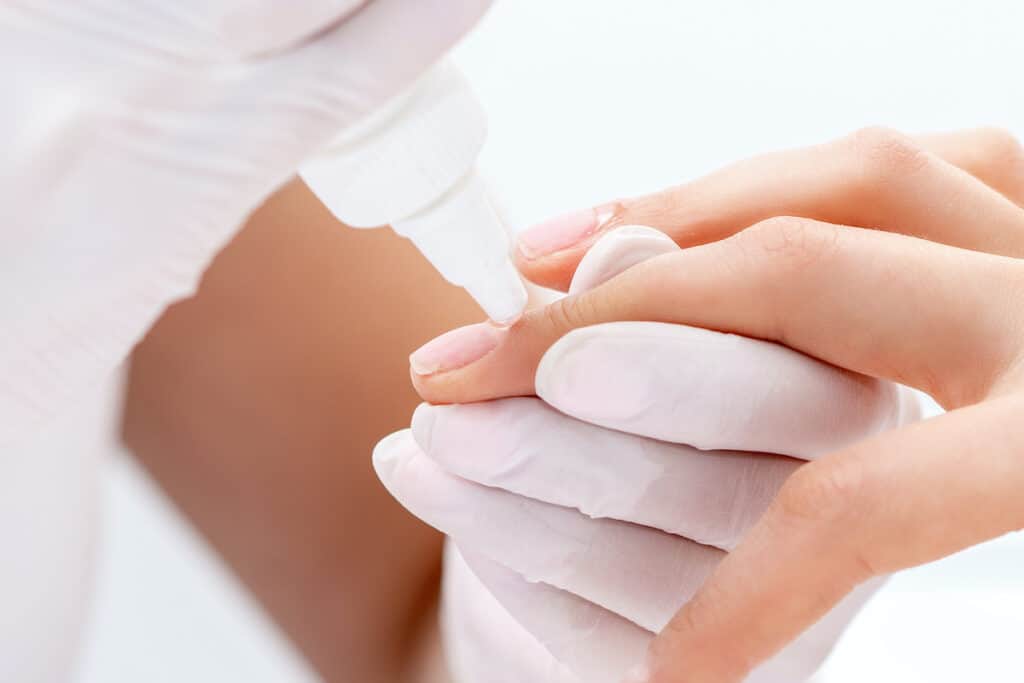
The number of layers depends on the system, nail length, and desired structure. Keep coats thin and even, avoid touching skin with uncured resin, and follow the dip-liquid manufacturer’s directions rather than building arbitrary thickness. Here is the general process:
- Apply a thin layer of compatible dip base over the nail, keeping uncured resin off the skin and cuticles
- Apply the acrylic powder over the wet base. For better hygiene, pour powder over the nail into a separate catch tray rather than sharing a jar used for direct dipping
- Tap the finger gently to remove loose excess powder without disturbing the wet resin layer
- Once the layer has set according to the system directions, use a soft brush to remove loose powder before applying more base
- The powder will bond to the resin-coated nail and form a rough layer that is built up before activation
- Repeat with another thin coat of compatible dip base and powder if the system calls for additional layers
- Add only as many layers as your system and nail structure require. Too much bulk can make shaping difficult and may increase lifting
Activate
Once you have built the required thickness and structure, it is time to activate the dip-resin layers so they can be filed and finished.
Dip systems use an activator liquid to accelerate curing of the resin-bound powder layers. It is not traditional acrylic monomer, and the finished manicure is durable but not indestructible.
Simply follow the steps below:
- Apply the activator exactly as directed by your dip system and allow the full recommended reaction time before filing
- Once the product has hardened for the required time, refine the shape with a file and lightly buff uneven areas without filing deeply into the natural nail
- If the system calls for a second activator application, apply it and wait the specified time before the finishing coat
Paint (Optional)
If you used a clear acrylic powder, you can leave the overlay clear or add colour after the dip system has been fully activated, shaped, and prepared for the next coating.
Once the dip overlay is fully activated, shaped, and finished, you can add compatible color or nail art if desired.
Regular nail polish can be applied once the surface is ready. If you use gel polish, follow that gel’s lamp and curing instructions and keep uncured gel off the skin.
Final Thoughts
You may be able to use acrylic powder with a dip system, but compatibility is the deciding factor. The safer shortcut is to substitute only a powder known to work with dip liquids while keeping the base, activator, and top coat within a system designed to work together.
If you already own a compatible acrylic powder, this can reduce the number of new products you need to buy. If compatibility is uncertain, purchasing a matched dip system is more predictable than experimenting with mismatched chemicals.
Whichever system you use, keep uncured resins and adhesives off the skin, work in a well-ventilated area, and stop if you develop persistent redness, itching, swelling, blistering, or nail separation. When it is time for removal, follow the product directions rather than peeling or prying the coating from the natural nail.
Related Articles
How To Use Acrylic Powder Without Acrylic Liquid