
What Can I Use Instead Of Nail Foil Glue?
Nail foils are an easy way to add metallic shine, patterns, and colourful accents without painting every detail by hand.
Transfer foils carry a thin decorative layer on a backing sheet. You press the transfer side onto a prepared nail, then lift the backing away.
Designs range from mirror-like metallics to lace, florals, and abstract patterns.
They’re especially handy for details that would be fiddly to recreate with a nail-art brush.
The transfer itself can be quick, but preparation, drying or curing, and sealing still take time.
Usually, you apply nail foil adhesive or foil transfer gel before pressing on the foil.
That sticky layer grips the decoration so it releases from its backing and stays on the nail.
If you’ve run out of adhesive, a substitute may work for a few scattered accents.
For a crisp pattern across the whole nail, purpose-made foil adhesive is usually the more dependable choice.
So, what can you use as an alternative to nail foil glue?
Clear, air-drying nail polish may work for small foil accents. Some gel polishes can pick up foil on their sticky layer after the prescribed cure, but results vary. School glue is an unreliable craft workaround, not an equivalent to nail foil adhesive.
The right choice depends on your foil, your polish, and whether you want a patchy metallic effect or an uninterrupted design.
Below, we’ll look at how each option behaves, how to troubleshoot a failed transfer, and why you shouldn’t shorten gel curing time to make it stickier.
How Nail Foil Glue Works
First, check which product you have: air-drying foil adhesive and lamp-cured foil gel work differently.
Foil adhesive is also different from the nail glue used to attach tips or press-ons. Those products aren’t interchangeable.
A typical foil manicure follows this sequence, with drying and curing times taken from your product labels:
- Shape your nails and start with a clean, dry surface. Leave cuticles intact and avoid unnecessary buffing.
- Apply base coat and nail polish of choice (you can use regular or gel polish). Let regular polish dry thoroughly; cure each gel layer according to its instructions.
- Once the colour is dry or properly cured, apply a thin layer of nail foil glue, keeping it off the surrounding skin.
- Follow the adhesive’s instructions. Air-drying formulas may turn clear when ready; gel formulas need the specified lamp and cure time. Don’t assume one minute suits every product.
- Press the transfer side of a nail-art foil sheet onto the prepared surface, smoothing from the centre toward the sides. Check the package to identify the transfer side. Loose foil flakes are different: place them individually, and check that the product is intended for nail use.
- Lift one corner to check the transfer before removing the backing. If a spot is missing, press that area again while keeping the sheet aligned.
- Seal with a foil-compatible finishing product. A regular topcoat polish may suit an air-drying manicure, but test it first; some formulas distort foil. Follow your gel system’s sealing instructions if using gel.
For a visual tutorial and some great hacks, check out this video from Paola Ponce Nails on YouTube.
Getting an even transfer takes a little practice, especially around the sides of a curved nail.
The useful feature is the adhesive’s sticky surface.
Many air-drying foil adhesives become clear but remain tacky. Foil gels need their specified lamp cure before transfer.
Pressing the backing into that surface lets the decorative layer release. The backing itself doesn’t stay on your nail.
Check the foil type before trying a substitute.
Transfer sheets, loose foil flakes, and self-adhesive nail wraps need different application methods.
Loose flakes are placed individually, while nail wraps already have adhesive. Neither needs to release a complete printed design from a carrier sheet.
For transfer foil, the alternatives below involve compromises. Start on a spare practice tip so a failed attempt doesn’t spoil your manicure.
Clear Nail Polish Or Protector
Clear nail polish passes through a sticky stage as it air-dries. That short window may let you pick up small pieces of transfer foil.
This is worth trying if you already have regular clear polish and want an irregular, scattered design.
Not every clear polish or topcoat works. Fast-drying formulas may lose their tack before you can position the foil.
A clear product such as this nail protector is an option to test if you already own it, but it isn’t a dedicated foil adhesive.
Don’t buy a particular clear polish expecting guaranteed transfers. Compatibility matters more than the word “protector” on the bottle.
To try regular clear polish with transfer foil:
- Shape the nail edges and clean the nail surface. Don’t cut away the cuticles to prepare for foil.
- Apply your regular base coat and colour, then let them dry thoroughly.
- Apply a thin layer of clear, air-drying polish to one nail or practice tip.
- Wait until it is tacky rather than wet. Test with a small piece of foil on the practice tip instead of touching the polish with a fingertip.
- Press the transfer side of the foil lightly onto the tacky layer. Start with small accents rather than a whole-nail print.
- Lift away the backing and let the polish underneath finish drying.
- Apply a compatible clear topcoat with minimal brushing over the foil. Allow the manicure to dry fully.
This method is more forgiving for broken-up metallic accents than lettering or a complete floral print.
There’s no universal drying time: coat thickness and the formula change how long the sticky stage lasts.
If the foil drags the polish or leaves a dent, the clear layer is probably still too wet, or the colour underneath hasn’t dried enough.
If nothing transfers, the clear layer may be too dry, the foil may be facing the wrong way, or the products may simply be incompatible.
Test a small corner before committing to the whole nail. If repeated tests fail, switch to foil adhesive rather than adding thick coats of polish.
Gel Polish
Some gel polishes leave a sticky inhibition layer after curing. Others, including many no-wipe products, don’t.
That sticky surface may pick up foil accents, but regular gel polish isn’t formulated to transfer every foil pattern evenly.
You need a compatible gel system and the lamp recommended by its manufacturer. Regular air-drying “gel-effect” polish is a different product.
If your gel instructions allow nail art on the cured sticky layer, try the following on a practice tip first:
- Prepare the nail as directed by your gel system. Avoid damaged skin and leave cuticles intact.
- Apply a thin gel base coat and cure using the manufacturer’s recommended lamp and time.
- Apply thin colour coats, curing each one for the full time specified for that product.
- If the cured product is intended to retain a sticky layer, test a small foil accent on it before topcoat. Don’t touch the sticky gel with bare fingers or shorten the cure if the transfer fails.
- Seal with a compatible gel topcoat and complete its prescribed cure. Use a dedicated foil gel if the regular gel layer doesn’t pick up the design.
Never shorten the cure to make gel stickier. The British Association of Dermatologists warns that using the wrong lamp can leave gel improperly cured and increase allergy risk. Keep uncured gel off your skin.
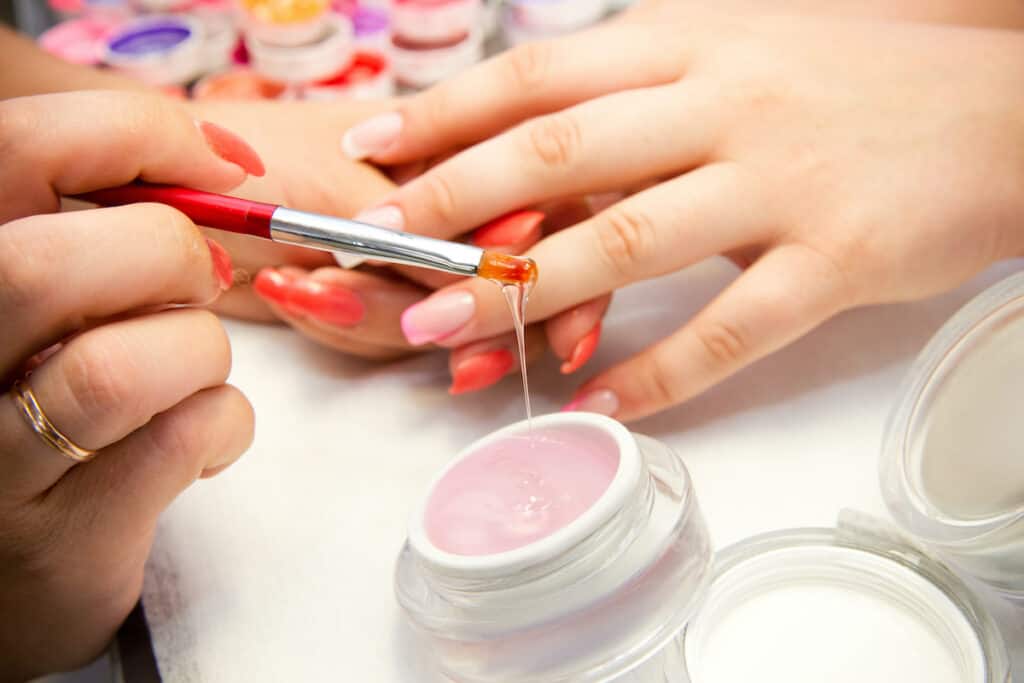
A hard-looking surface doesn’t prove a correct cure. If you’re unsure about the product and lamp combination, use regular polish or ask a trained nail technician. Stop using a product and seek advice if itching, swelling, or a rash develops.
School Glue: Why It’s An Unreliable Substitute
School glue is a common DIY suggestion, but it isn’t our first choice for a wearable foil manicure.
This usually means about Elmer’s Glue, a washable school adhesive, rather than a purpose-made nail product. Don’t use any kind of super glue Craft glues vary, so don’t substitute an unidentified household adhesive.
Elmer’s does publish a peelable polish craft activity using its white school glue. That doesn’t establish that every school glue works as a foil adhesive or that the result will last like a manicure.
A washable glue may briefly feel tacky, but the foil may release unevenly or the finished layer may lift during handwashing.
The texture can also be too thick for a smooth finish.
An uneven glue layer can leave ridges or cloudy areas under the foil.
Adding water changes drying and adhesion, so there’s no dependable glue-to-water ratio to recommend for nails.
If you want to explore this craft hack, keep the experiment on a loose practice tip rather than your own nails:
- Mount a loose plastic practice tip on a stand so you can handle it without touching wet products.
- Apply regular nail polish to the tip and let it dry completely.
- Check the school glue label and cleanup instructions. Don’t mix in other household adhesives.
- Using a separate craft brush, spread a small, thin test area on the practice tip.
- Observe how it dries; don’t rely on a fixed 30- or 60-second timing.
- Test a small piece of transfer foil while the glue still has some tack, then lift away the backing.
- Let the sample dry and check for patchiness, ridges, or lifting.
- If you test a topcoat over the sample, check whether it wrinkles or loosens the foil. Keep the finished tip as a sample, not a press-on nail.
Even a successful transfer on a practice tip doesn’t establish wear time or skin compatibility.
For cleanup, follow the school glue’s label. Don’t reach for acetone automatically, particularly around plastic practice tips.
For a manicure you’re wearing, follow the removal instructions for the base polish or gel system. Don’t scrape or peel the design off your natural nail, and moisturize after removal.
Final Thoughts
For small, irregular foil accents, regular clear polish may be enough if you catch its sticky stage.
For full coverage or a precise print, use a dedicated foil adhesive or transfer gel with a compatible topcoat. A random sticky household product isn’t an equivalent.
Gel polish is only worth trying if you already have a compatible system and can follow its full cure instructions. School glue is better left as a practice-tip experiment.
If foil wrinkles or loses shine after sealing, test another topcoat recommended by the foil maker. A successful transfer can still be spoiled by an incompatible finishing coat.
Start with one test tip, use thin layers, and check the result after sealing. That small trial can save a lot of foil and frustration.
Related Articles
Can You Use Super Glue As Nail Glue?
Can You Use Eyelash Glue For Fake Nails?