
How To Fix Nail Polish Bubbles
One of the most frustrating parts of doing your nails at home is seeing bubbles or bumps appear in an otherwise smooth coat of polish.
Salon manicures often look smooth and glossy, but bubbles can happen at home when polish is applied too thickly, shaken vigorously, layered too quickly, or dried in warm, humid conditions.
Smudges and bubbles are common application problems, and they usually come down to technique, polish condition, or drying conditions rather than a lack of skill.
Professional technique can help, but the environment is only one factor. Thick coats, trapped air in the bottle, old or thickened polish, oily nail plates, and not allowing layers to set can all contribute to bubbles.
Nail polish generally dries more predictably in a cool, dry, well-ventilated room, but the most important step is applying thin, even coats and giving each layer enough time to set.
So, how do you fix the bubbles in nail polish?
If your nail polish looks rough or bubbly as it dries, you may be able to improve the surface without removing the entire manicure. If the polish is still soft, gentle smoothing may help. If it is fully dry, light buffing followed by a thin fresh coat and topcoat is usually safer and more predictable than rubbing acetone directly over the nail.
Below are practical ways to smooth nail polish bubbles, plus tips to prevent them from forming in the first place.
Fixing Nail Polish Bubbles After They Happen
If you have already painted your nails and notice bumps or bubbles, the best fix depends on whether the polish is still soft or fully dry.
Press-Down Method
This method only works if your nail polish is still soft. If it has already hardened, pressing on it can create dents instead of smoothing the surface.
All you need is a clean fingertip, a tiny amount of water, and a clear topcoat. Work very gently:
- Lightly dampen the fingertip of your opposite hand. It should be barely moist, not wet enough to drip.
- Very gently press or tap the surface of the nail where the polish is raised.
- If the polish is still soft enough, the surface may flatten slightly as the raised area settles.
- Continue only if the polish is smoothing. Stop if you see fingerprints, dragging, or smearing.
Trying to force every bubble flat can make the finish worse. - Allow the polish to dry thoroughly, then apply a thin clear topcoat if the surface looks even enough to salvage.
This works only because soft polish can still be reshaped slightly. It does not literally remove all the trapped air from deeper layers.
A lightly damp fingertip can reduce sticking, but too much water can interfere with the surface, so use the smallest amount possible.
For minor texture, a gentle press followed by topcoat may make the imperfection less noticeable, but larger bubbles may still require a new coat.
Adding a topcoat can help smooth the appearance of small surface imperfections once the color is dry.
Acetone Finger Method
If your nail polish has fully dried, avoid repeatedly rubbing acetone directly over it with your bare fingertip. Acetone can dry and irritate the surrounding skin and may remove the color unevenly.
If you want to use acetone to correct a dried manicure, it is better to use a small amount on a cotton swab or lint-free pad for targeted cleanup, then repaint the affected nail if needed.
Acetone softens and dissolves nail polish, but it is difficult to control well enough to “buff” bubbles smooth without also removing pigment.
- Protect the surrounding skin and use only a small amount of acetone on a cotton swab or lint-free pad.
- Touch only the raised area briefly rather than rubbing the entire nail for 10-20 seconds.
- If the surface becomes uneven or the color starts lifting, stop and let the acetone evaporate.
Trying to keep rubbing can create streaks or bare patches. - Allow the nail to dry completely before adding more polish.
- If needed, apply one thin coat of the same nail color and let it dry fully.
- Finish with a thin clear topcoat once the surface is smooth and dry.
Acetone is best treated as a polish remover or cleanup tool, not a guaranteed way to smooth bubbles without disturbing the manicure.
If the surface damage is obvious, repainting that one nail is often faster and cleaner than trying to dissolve only the bubbles.
Buffing Method
For fully dried polish, light buffing is one of the more reliable ways to smooth raised surface texture before repainting.
You’ll need a nail buffer block, a rubbing alcohol wipe, nail polish, and a topcoat.
- Very lightly buff only the raised polish surface. Use minimal pressure so you smooth the coating rather than thinning the natural nail underneath.
- Stop once the bubbles or bumps are level enough for a fresh coat to cover them.
- Wipe away dust with an alcohol wipe or lint-free pad, keeping the skin comfortable.
- Allow the nail to dry completely before repainting.
- Add one thin coat of the same color if needed and let it dry fully.
- Finish with a thin topcoat.
The buffing method is useful for dried surface texture, but buff lightly so you do not file through the polish and into the natural nail.
Alcohol helps remove dust and surface oil before repainting, but it does not make an otherwise poor application automatically foolproof.
Bonus: Glitter Hack
This glitter hack does not fix bubbles, but it can disguise minor texture if you are short on time.
It works best when the original polish is already dry and the bubbles are small enough that extra texture will camouflage them.
Here’s what you can do:
- Choose a glitter polish that complements your base color.
- Apply one thin to medium coat of glitter polish. Avoid very thick coats, which can trap more solvent and take much longer to dry.
- Finish with a clear topcoat if you want a smoother, glossier surface.
Chunkier glitter can hide small bumps particularly well because the finish is intentionally textured.
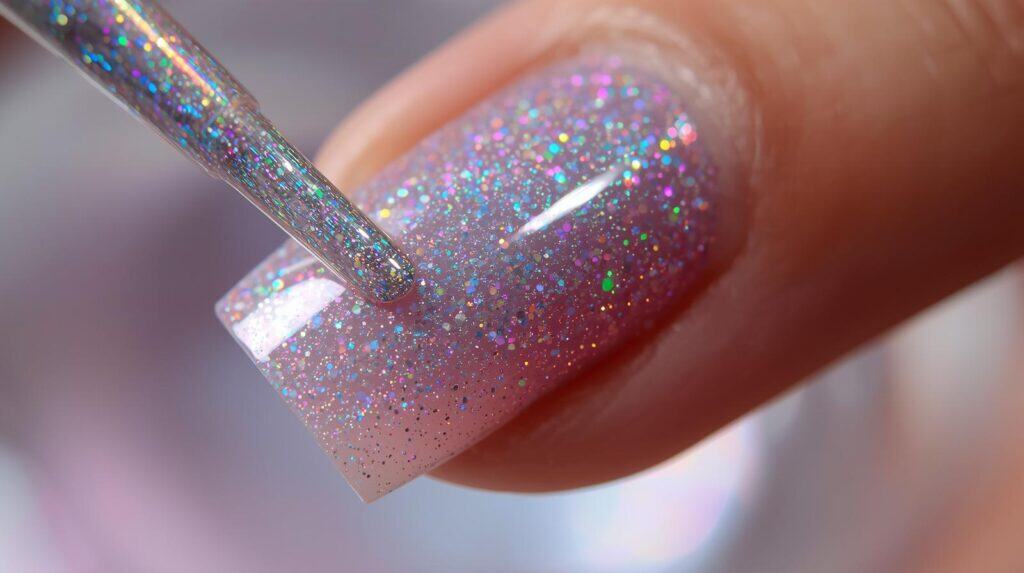
The glitter can make minor bubbles or imperfections less noticeable, while making the accent look intentional.
For severe bubbling, though, removing and repainting the affected nail will usually give the cleanest result.
Final Thoughts
Nail polish bubbles are frustrating, but small ones can often be disguised or smoothed without redoing the entire manicure.
Prevention is easier than repair: apply thin coats, roll the bottle gently instead of shaking it hard, avoid painting in very hot or humid conditions, and allow each layer to set before adding the next.
If bubbles still appear, choose the least aggressive fix that matches the problem. For major texture, repainting one nail is often quicker than repeatedly pressing, dissolving, or buffing the polish.
Related Articles
Can You Bring Your Own Nail Polish To A Salon?