
Painting Nails Black – Ultimate Guide
Black nail polish makes a crisp, bold manicure, but its dark pigment can make uneven edges and chips especially noticeable.
The trick is a clean nail surface, thin coats, and a little patience with drying.
This guide covers regular, air-drying nail lacquer. Gel polish needs the compatible lamp and curing instructions specified by its manufacturer, so do not use these drying steps for gel.
You can get a neat result on short nails as well as long ones; extensions are optional.
Gather your black polish, a suitable base coat, top coat, nail file, remover, lint-free pads, and a small cleanup brush or cotton swab.
Set everything on a stable surface in good light before you start. Work in a ventilated space away from flames and heat.
Among the classic colours to go for is black. It’s timeless, edgy, and goes with just about everything.
Below, you’ll find the prep, painting, cleanup, and removal steps that help keep a black manicure looking tidy.
How do you paint your nails black?
To paint your nails black, start with clean, dry, shaped nails. Apply a suitable base coat, then one or two thin coats of black lacquer as directed, leaving a small gap around the skin. Finish with top coat, clean up stray polish carefully, and allow enough drying time before using your hands.
So before you crack open that bottle of black nail polish, read through our guide so you can make the most of your midnight-toned mani!
Prepare Your Nails For Black Polish
Remember that your polish will look better if it has a nice, healthy base to lay on top of – so proper nail care is definitely not a skippable step.
Gel, acrylic, and other nail enhancements make it easy to wear extra length, but black polish works just as well on short natural nails.
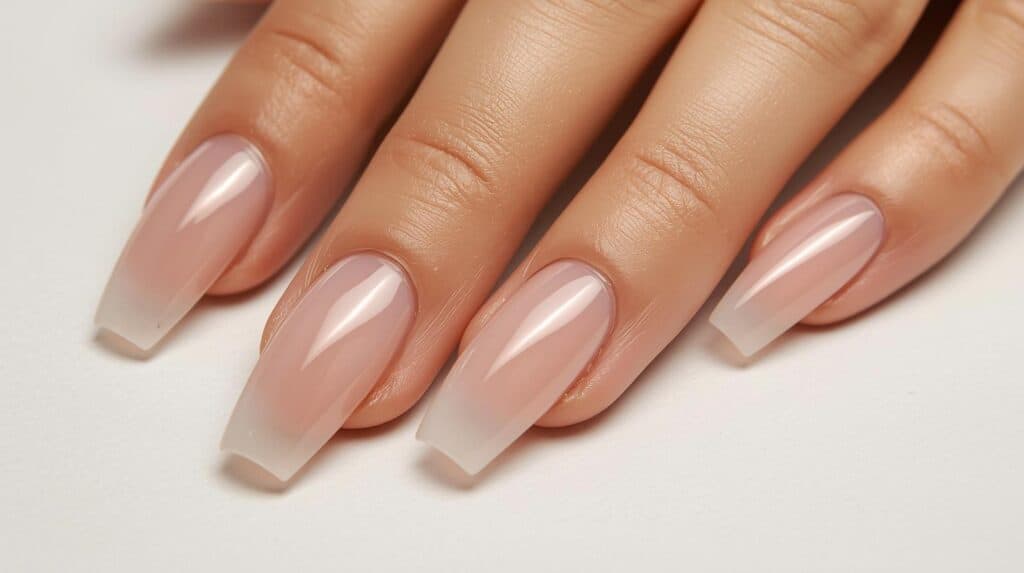
Choose a length you can comfortably maintain. Short, evenly shaped nails can make dark polish look especially neat.
Enhancements do not automatically ruin natural nails, but aggressive filing, improper removal, peeling product off, or repeated over-prep can leave the nail plate thinner or more damaged.
If you wear enhancements, careful prep, maintenance, and removal matter more than simply whether the product is acrylic, gel, or another system.
Start with a few simple habits that help limit snagging, dryness, and breakage.
Keeping Your Nails Healthy
There are a multitude of different ways you can keep your nails healthy, even if you’re genetically predisposed to having weaker nails.
If your nails are thin after enhancement removal, keep the length manageable while the damaged portion grows out.
What Not To Do
First things first – you need to break some bad habits.
If you’re a nail-biter, invest in a nail-biting deterrent.
These are basically clear enamel nail polishes with a bitter taste to them.
That way, if you bring your fingers up to your mouth and take a nibble, you’ll immediately be reminded that you’re not supposed to be doing it.
If you regularly use your nails as tools, you may want to take a break.
While it may not seem like you’re doing a ton of damage at first, using your nails to pop open soda cans, as toothpicks, or during any other situation where you shouldn’t be using them can wear down the natural strength of your fingernails over time.
This is a harder habit to kick, especially if you’ve been doing it regularly throughout the years.
To quit it, be extra mindful about your hands, or ask family and friends to remind you if they catch you in the act.
Don’t submerge your nails under water for long periods of time.
If you hand-wash dishes, invest in a high-quality pair of dishwashing gloves.
This limits prolonged exposure to water and detergent, both of which can contribute to temporary nail softening and repeated swelling-and-drying cycles.
After bathing or swimming, simply dry your hands and nails normally and avoid using softened nails as tools until they feel firm again.
Drying them does not instantly harden the nail plate, but it helps remove surface moisture and keeps the hands more comfortable.
What To Do
To reduce dryness around the nails, use a hand cream regularly, especially after washing your hands. One option is this shea-butter hand cream.
Whenever you apply it, take extra care to rub the lotion into your cuticles.
Massage can make the area feel comfortable and the cream can reduce dryness around the nail folds and cuticles, but it does not meaningfully speed nail growth or guarantee stronger new nails.
When it comes time for a manicure, it may be in your best interest to buy some good-quality tools.
Replace clippers that catch, crush, or tear the nail edge instead of cutting cleanly.
Useful manicure tools can include straight-ended or curved nail clippers, a glass nail file, and optional tools such as cuticle trimmers and a cuticle pusher. You do not need to cut or push back your cuticles to paint your nails; leave the protective seal intact.
Whichever clippers you use, clean and dry the tools between uses. Keeping separate tools for hands and feet is optional, but tool hygiene matters.
You may already have a nail file or two in your manicure kit. Glass files are reusable and can feel gentle, but a good-quality emery or crystal file can also work well.
Traditional nail files come in different grits, so choose one fine enough for natural nails and replace disposable files when they become worn or difficult to clean.
An overly coarse file or aggressive filing can roughen the free edge and contribute to splitting or snagging.
Glass files are a durable option for smoothing sharp edges, but they are not the only safe choice.
Cuticles
As for your cuticles – they deserve some attention too!
Cuticle cutting is not necessary for nail health. The cuticle helps seal the space between the nail plate and surrounding skin.
If a loose hangnail is catching, carefully clip only the detached piece with clean tools. Do not pull it or trim the attached skin around the nail.
Remember, this process should not hurt, nor should you be digging into the base of your nail to trim.
Keep in mind that the cuticle is part of the protective seal around the nail, so over-cutting can increase irritation and infection risk.
A tool such as this metal cuticle pusher is not essential. The American Academy of Dermatology recommends leaving cuticles alone rather than cutting or pushing them back.
Leave a narrow gap between the polish and surrounding skin instead of trying to remove skin to create more painting space.
Painting Your Nails
When you sit down to paint your nails, ensure that the surface of the nail is as dry as possible.
Remove old polish, then clear away cream or oil from the nail plate with a lint-free pad and a suitable nail-prep product or remover as directed. Let the surface dry before applying base coat.
After your manicure has dried, you can apply a nail oil (check out our article for The Best Oils For Cuticles) to the base of your nail and rub it in.
Saving oil for the end avoids having to remove it again before polishing. Residue on the nail plate can interfere with an even application.
If your nails are persistently brittle, soft, splitting, or changing suddenly, do not assume you need a supplement. Biotin deficiency is uncommon, and high-dose biotin supplements such as this one from Nature’s Bounty can interfere with certain laboratory blood tests.
Biotin is vitamin B7 and is necessary for normal metabolism, but taking extra biotin has not been shown to reliably improve hair or nail growth in people who are not deficient.
The NIH Office of Dietary Supplements notes that evidence for biotin’s beauty benefits is limited. A supplement is not a required step for a black manicure.
If you are considering a high-dose supplement, discuss it with a healthcare professional, especially before laboratory testing or if you take medications.
Do not take a supplement daily simply because it is water-soluble. Use supplements only when they are appropriate for your needs and according to the label or medical guidance.
Painting Your Nails Black
While it may be tempting to apply polish on your nails right from the get-go, you won’t get much life out of your polish if you do it that way.
And black polish is one of those colors where chips and cracks are crazy obvious.
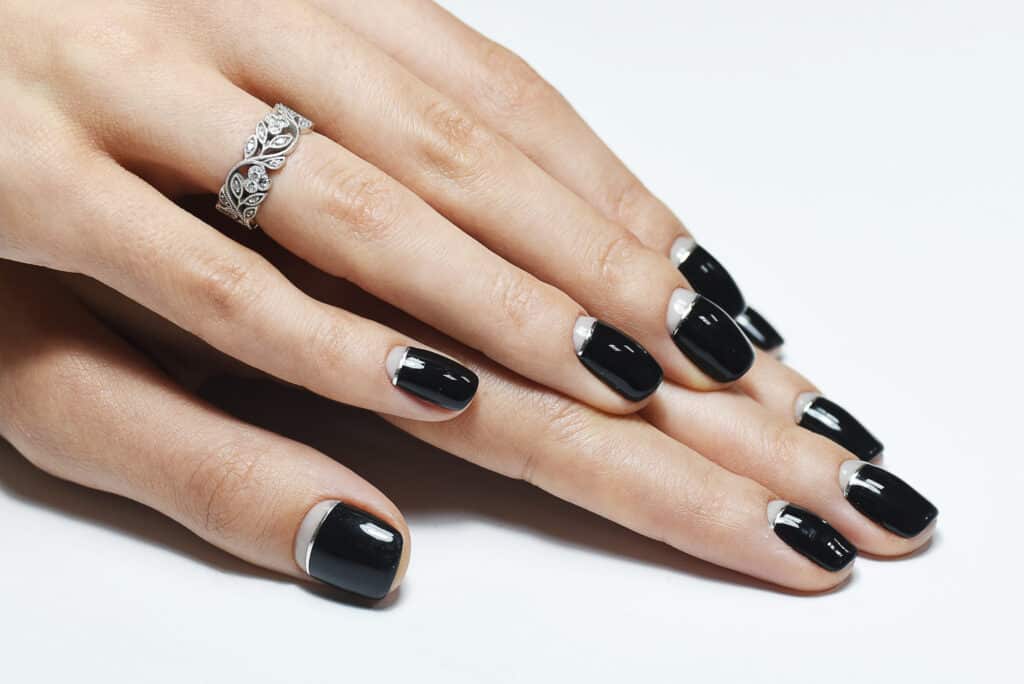
Allow time for painting and drying before chores, getting dressed, or going to bed.
Make it a self-care ritual; that way, you can truly take pride in your work!
Rest your painting hand on the table for steadier strokes, and load less polish when working near the edges.
Step 1: Wash And Clean
First, start with a quick hand wash.
Clean gently under the free edge to remove visible debris without scraping deeply under the nail.
Avoid aggressive scrubbing or buffing of the nail plate, which can thin or roughen the surface.
Step 2: Dry The Nail Surface
When you’re done, dry your hands off, taking extra care to ensure your nails are dry.
Then, apply lotion to dry skin around the hands if needed, but remove any cream or oil from the nail plate before polishing so the base coat can adhere evenly.
Save the nail oil for after the manicure has dried so it does not leave residue beneath your base coat.
Step 3: Trim To Length
Using your curved nail trimmers, trim your nails down to the length you’d like them to be.
If you’re a fan of a straight edge to your nails, we recommend buying a separate pair of straight-edge trimmers from the ones you use on your toes.
Be gentle with your trimming, and remember that it’s easier (and less painful) to trim too little than to trim too much.
Step 4: File The Edges
Once your nails are all down to shape, take out your glass file to smooth out any sharp edges.
If you’ve cut your nails straight, make sure to round out the edges just a bit.
If you like the look of a blunt edge, round out the corners sparingly. Too sharp of an edge can snag on your clothes or cut your skin, so be extra careful.
When it comes to filing, you may be used to grinding the edge of your nails down with a back-and-forth motion.
Avoid sawing aggressively at the free edge or using a coarse file intended for enhancements.
Use a fine file with light strokes in one direction, checking frequently so you do not remove more length than intended.
Step 5: Apply Base Coat
Brush away filing dust and check that the nail plate is dry and free of lotion or oil.
But before you do, take the extra time to apply a base coat.
Black and other highly pigmented polishes can sometimes leave temporary staining, so a base coat can help reduce direct pigment contact with the nail plate and improve adhesion.
A base coat, such as this OPI option, can help polish adhere and may add a temporary protective coating. A “strengthening” label does not mean the nail plate is permanently repaired or made injury-proof.
Choose a base coat based on how it performs on your nails rather than assuming keratin, “enamel,” or a higher price automatically makes it more effective.
Some products are marketed as both base and top coats, but dedicated formulas may perform differently depending on the manicure.
Step 6: Paint Thin Black Coats
Now, you can apply the black polish. One classic option is OPI Black Onyx.
When you unscrew the brush from the base of the polish, make sure you swipe any excess polish so you don’t flood your nail with colour.
Gently swipe a strip of black polish down the centre of your nail.
Don’t start right at the base of your nail, but instead just a touch above it – this will keep your manicure looking clean.
Do not try to make a sheer first coat completely opaque by loading on more polish.
A thick layer takes longer to dry and is easier to dent or smudge.
If the first coat looks slightly streaky, leave it alone until it has set enough for the next coat.
Keep the first coat thin and even. A second coat can build opacity if the formula needs it.
After that first centre swipe, do the same motion to cover up the left and right sides of your nail.
Angle your finger as needed so you can see the sidewalls clearly, but leave a tiny gap from the surrounding skin to reduce flooding and cleanup.
Follow the formula’s directions for the number of coats and drying between them. Two thin coats commonly give more even coverage than one heavy coat.
If regular lacquer gets on your skin, carefully remove the stray colour with a small cleanup brush and remover. You can do this as you go or after the painted surface has set enough to avoid smudging.
Wipe the cleanup brush between passes so you do not spread black pigment around the nail.
Another pro-tip we have for a seamless mani?
Dip your nail brush into the polish and wipe off the excess as you usually would.
Sweep a very small amount across the exposed free edge, if your nail is long enough to do so without touching the skin underneath.
Lightly capping the free edge may help some manicures resist tip wear, although it cannot prevent every chip.
Step 7: Finish With Top Coat
Apply your top coat at the stage recommended on its label, using light strokes to avoid dragging the black colour.
Let the color coat set according to the polish instructions before applying your top coat. Many top coats are designed to go over polish that is set but not fully cured.
Dry-to-touch does not mean dent-resistant. Follow the lacquer and top-coat drying instructions, and avoid pressure or fiddly tasks while the layers are still soft. A lamp will not turn ordinary lacquer into gel polish.
Step 8: Clean Up The Edges
Check for any remaining polish on the surrounding skin and tidy the outline without disturbing the painted nail.
If you have a thin nail art brush handy, this is the perfect time to take it out.
If you do not have a cleanup brush, use a cotton swab or another blunt applicator rather than putting a sharp toothpick close to the skin.
Dip your cleanup brush or cotton swab in a small amount of acetone or polish remover and carefully trace around stray polish, keeping remover off irritated or broken skin.
Work slowly so you do not accidentally remove the polish you want to keep.
Styling Black Nails
The great thing about this manicure is that it’s extremely timeless.
And by that, we mean that it goes with just about everything; however, there are some colours and styles you can try out that can make this polish pop.
For jewellery, wearing silver rings can bring out the edginess of your colour choice.
For a warmer contrast, try gold jewellery against glossy black polish.
Midi rings sit above the main knuckle and can draw attention to your manicure without covering the fingers in heavy jewellery.
It makes your hands extra interesting to look at, and after all the time you’ve spent on your manicure, why not show them off whenever you get the chance?
As for outfits, pairing solid black nails with a little black dress will keep you looking put together and cohesive.
A sparkly silver dress can contrast with the darkness of your fingers beautifully.
In the autumn time, pairing black nails with a chunky white sweater can look uber chic!
As would any deep, nature-based colours like forest greens and burnt oranges.
For an edgy touch, rocking jeans and a graphic t-shirt is never a bad style move, but pairing it with a leather jacket will take your outfit to the next level!
Channel your inner grungy ’90s kid when it comes to fashion inspo if you want to rock a black mani casually – we mean baggy cargo pants, and layering turtlenecks underneath a fitted tee.
If you need a visual tutorial for how to prep your nails perfectly before polish every time, here’s a helpful tutorial from Cutepolish on YouTube.
Related Questions
How do you remove black nail polish?
Black nail polish may prove trickier to remove because of how pigmented it is.
Work on one nail at a time and use enough remover to soften the lacquer before wiping. Rubbing with a nearly dry pad tends to spread pigment.
For ordinary black nail lacquer, press a remover-soaked cotton pad against the nail for several seconds, then wipe toward the tip. Repeat as needed rather than soaking the nail for 5-10 minutes.
Aluminum-foil wraps are generally unnecessary for regular nail polish and are more commonly used for soak-off gel or other coatings that require prolonged remover contact.
If a little staining remains, avoid scraping or heavily buffing the nail to remove it. Persistent or unexplained colour changes deserve a closer look rather than another coat of polish.
Use fresh cotton as needed so you are not rubbing dark pigment back across the skin. Wash your hands afterward and moisturize if the remover leaves them dry.
Related Articles
13 Best Setting Powders For Dry Skin Of 2025
Eyeliner On Lower Lid Only (What To Do + What To Avoid)