
How To Thin Out A Wig
Do you ever get excited about a brand new wig only to put it on your head and realise it looks way too bulky?
You’re not alone. Some wigs are made with a high density, which can look fuller than you expected once the wig is on your head.
The right density is mostly a matter of personal preference, wig construction, hairstyle, and how much volume you want around your face.
If you plan to wear the wig in an updo, removing a little excess bulk can also make the style easier to control.
If your wig feels too dense, you can thin it at home, but the safest approach is to remove less than you think you need and check the shape frequently.
So how do you thin out a wig?
You can reduce wig density with thinning shears, a razor comb, or careful plucking in limited areas. Thinning shears are usually the easiest option for overall bulk, while tweezers are better reserved for lace-front hairlines and parting areas. Regular scissors can work for shaping, but they are less forgiving for removing density.
Below, we’ll cover several methods, where each one works best, and the mistakes that can permanently damage the wig cap or leave obvious short pieces.
How To Thin Out A Wig Using Thinning Shears
Thinning shears are one of the easiest tools for reducing overall wig density because their toothed blade removes only part of each section instead of creating one blunt cut line.
They can be used on both human-hair and synthetic wigs, although synthetic fibres do not grow back or recover from a bad cut, so conservative trimming is especially important.
They allow you to remove bulkiness from sections of hair naturally and subtly.
They work well when the wig feels bulky through the mid-lengths or lower layers. Be much more cautious around the crown and visible top layer, where short cut fibres can stick out.
If you want one tool specifically for reducing density, thinning shears are usually easier to control than regular scissors.
You can find thinning shears at most beauty stores and online.
For example, these thinning shears are one option designed for texturizing and bulk removal.
Once you have a clean, sharp pair of thinning shears, work slowly through the steps below and check the wig frequently so you do not remove too much.
1. Figure Out The Game Plan
Before cutting anything, decide exactly where the wig looks too dense.
You need to figure out which sections of the wig require thinning.
Put the wig on your head and stand in front of a mirror.
Ideally, you’ll have a second mirror so that you can see the back of your head, too.
Assess the bulk from the front, sides, and back, then mark or remember only the sections that truly need thinning.
2. Place Your Wig On A Mannequin
Remove the wig from your head and secure it on a wig stand or mannequin head. Cutting while the wig is off your head reduces the chance of accidentally cutting your own hair or skin.
If you do not have a mannequin, use a stable wig stand or another secure rounded support. Avoid an unstable jar or slippery surface that can move while you are using shears.
3. Begin In Sections
Separate the hair into sections that are easy to work with.
Useful sections can include the front or bangs, sides, crown, and lower back. Keep the visible top layer clipped away while you thin the hidden layers underneath.
But if your wig is too thick, you might need to separate the hair into more sections.
4. Clip Away The Top Layer
When thinning a wig, avoid making obvious thinning cuts through the visible top layer.
Short pieces created near the crown can spring upward and make the wig look frizzy or uneven.
Clip the top layer out of the way and work through hidden sections underneath it.
5. Begin Thinning The Wig
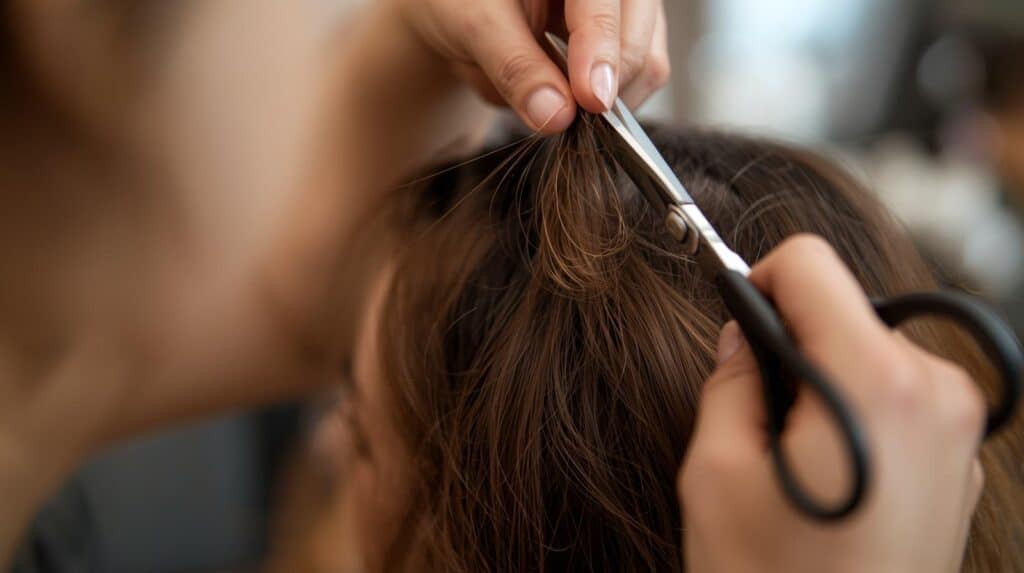
Pick up a thin section from the area you want to reduce. Place the thinning shears partway down the section rather than directly against the cap or roots, then make one light cut.
Avoid cutting right against the base, wefts, knots, or lace. Cutting too close can create short pieces, expose the wig construction, or damage the cap.
After each cut, open the shears and comb through the section to remove loose fibres. Do not drag closed shears down the hair because that can snag or roughen the fibres.
The goal is to remove a small percentage of fibres at different points through the section so the wig keeps its overall shape while losing excess bulk.
6. Repeat
Repeat only in the sections you identified as too dense.
Remember to always clip the topmost layer of the hair out of the way because you don’t want to cut that off.
Feel free to try on the wig throughout this process to keep track of how it looks.
Try the wig on after a few cuts, reassess, and stop as soon as the density looks balanced.
Start slowly because removed wig hair cannot be replaced. It is much easier to take out a little more later than to correct an over-thinned section.
How To Thin Out A Wig Using A Razor Comb
A razor comb is another option for reducing bulk and softening heavy lengths, but it requires more control than thinning shears.
Choose a sharp razor comb made for haircutting or wig styling rather than improvising with a dull blade.
Razor combs are most useful when excess weight sits through the mid-lengths and ends.
They are harder to control near the crown and cap, where thinning shears or professional customization are usually safer choices.
If the wig is bulky through the lengths, use a razor comb sparingly and follow the steps below.
1. Figure Out The Game Plan
As always, start by placing the wig on your head, looking in a mirror, and figuring out where you want to remove some bulk.
2. Start On The Mid-Shaft Of Hair
Place the wig on a mannequin or secure wig stand rather than using a razor tool while the wig is on your head.
Start around the mid-shaft and use short, light downward strokes toward the ends. Work on small hidden sections first so you can judge how much fibre the tool removes.
Loose fibres will come away as you work, so comb the section out before making another pass.
Avoid going anywhere near the “roots” or the base of the hair because you don’t want to end up with short hairs sticking out at the top of your wig.
3. Continue Thinning The Wig
Continue with light strokes at slightly different starting points wherever the section still feels too bulky.
Recheck the density after only a few passes because razor combs can remove more hair than expected.
If the bulk is concentrated near the base or crown, do not push a razor comb against the cap. That is where you are most likely to expose wefts, damage lace, or create obvious short fibres.
Use thinning shears conservatively underneath the top layer or ask a wig stylist to reduce density near the base.
Razor-comb thinning is less forgiving than it looks, especially on synthetic fibres.
Use very light pressure and take it slow.
If the tool snags, shreds, or frizzes the fibres, stop and switch methods.
Here’s a great tutorial from Magdaline 1ONLY on YouTube.
How To Thin Out A Wig Using Tweezers
Tweezers can help customize small areas, especially a lace-front hairline or part, but they are not a practical method for thinning an entire wig.
They are most useful for carefully reducing density around a lace hairline or lace part so the transition looks less dense.
If your wig is wefted rather than ventilated through lace, randomly plucking fibres can damage the construction, loosen tracks, or create visible gaps.
Work with only a few hairs at a time and check the density constantly.
If you are customizing a lace area, use the following conservative approach:
1. Figure Out The Game Plan
Begin by determining which areas of the wig require thinning.
2. Place the Wig On the Mannequin
Place your wig on a mannequin or another similar object so that you can work on the hard-to-reach parts.
3. Begin Plucking
Hold the lace securely and pluck only a small number of hairs from the intended hairline or parting area. Avoid pulling aggressively on knots or the lace itself.
Do not remove several neighboring hairs at once. Stagger the hairs you pluck so you do not create a visible bald patch or tear the lace.
4. Continue
Repeat only where the lace still looks overly dense, then stop and try the wig on before removing more.
How To Thin Out A Wig With Regular Scissors
Regular scissors can be useful for shaping, trimming ends, or point cutting, but they are less forgiving for reducing overall density.
They work best for trimming the perimeter, adding layers, or point cutting rather than chopping hidden sections close to the base.
Using regular scissors near the base of the wig can create blunt short pieces, expose tracks, or make the crown look uneven.
If you only have regular scissors and need major density reduction, it is safer to use proper thinning shears or take the wig to a stylist who has experience cutting wigs.
Final Thoughts
Thinning a wig is optional, but it can help when the factory density feels too heavy. The safest at-home approach is to work underneath the visible top layer, remove very small amounts, and protect the cap, lace, knots, and wefts.
Try the wig on repeatedly as you work. Once the density looks balanced, stop rather than continuing to thin simply because more hair can still be removed.
Wig Thinning Mistakes To Avoid
- Cutting directly into the lace, knots, or wefts: This can permanently damage the cap and create visible gaps.
- Removing too much from one spot: Alternate between sections and try the wig on often so one area does not become noticeably thinner than the rest.
- Thinning the visible top layer aggressively: Short cut fibres can stick up around the crown and part.
- Using a razor comb on the wig while wearing it: Work on a secure stand instead so you do not accidentally cut your skin or natural hair.
- Assuming every wig can be plucked: Tweezing is mainly useful on lace-front and lace-part areas. Pulling hairs from a wefted cap can damage the construction.
How To Thin A Wig FAQs
Can You Thin A Synthetic Wig?
Yes, but synthetic fibres do not grow back or recover from an uneven cut. Work in very small sections, use sharp tools, and check the shape frequently.
Should You Thin A Wig From The Roots?
Usually, no. Cutting too close to the roots can leave short pieces sticking up and can expose or damage the cap. For general density reduction, thin underneath the top layer and farther down the hair shaft.
Can You Pluck A Non-Lace Wig?
Plucking is mainly useful on ventilated lace areas. On a traditional wefted wig, pulling individual hairs can loosen or expose the tracks, so thinning shears are usually a better option.
How Do You Know When To Stop Thinning?
Try the wig on after every few cuts. Stop as soon as the silhouette looks balanced and the wig moves naturally. If you can already see the cap, tracks, or sparse patches, you have removed too much.
Related Articles
How To Wash A Wig With Fabric Softener