
Eyeshadow Under Eyes – Do Or Don’t?
Eyeshadow under the eyes can add soft definition, connect a smoky eye, or bring a little color to an otherwise simple look. The trick is controlling how far the shadow extends below the lashes.
If lower shadow tends to look like a dark smudge on you, try changing the brush size and placement before giving up on the technique.
Start with a narrow line, then soften its edge. It is easier to add a little more color than to remove a wide band of powder.
You can wear shadow along just the outer third of the lower lash line or extend it farther inward for a more wrapped-around effect.
Dark circles, fine lines, dryness, and texture can change how powder products sit under the eyes, so lighter layers and careful placement may work better than simply adding more product.
Remember, makeup is personal, and there is no one-size-fits-all placement. A few simple techniques can help you control depth, fallout, and how far the shadow extends below the lashes.
So, eyeshadow under eyes – is it a do or a don’t?
Yes, eyeshadow can be applied under the eyes. Keep most of the color close to the lower lash line, build slowly, and adjust the width and intensity to the look you want rather than following one rigid rule for your eye shape.
Eyeshadow can visually make the eyes look more elongated, rounded, lifted, smoky, or defined depending on placement.
If the placement feels too low, too dark, or too wide for your preference, it can make the look feel heavier than intended.
Here is how to choose a shade, place it neatly, and fix fallout without piling on concealer.
Eyeshadow Under The Eyes
For this technique, “under the eyes” means the skin just beneath the lower lashes, not the whole area where you might apply concealer.
The skin around the eyes is thin and delicate, so it’s crucial to work gently to avoid irritation.
Use light brush pressure rather than pulling the lower lid down. Keep powder off the wet inner rim, or waterline.
Think about the finish you want before picking up a brush: barely-there definition needs less depth and width than a smoky eye.
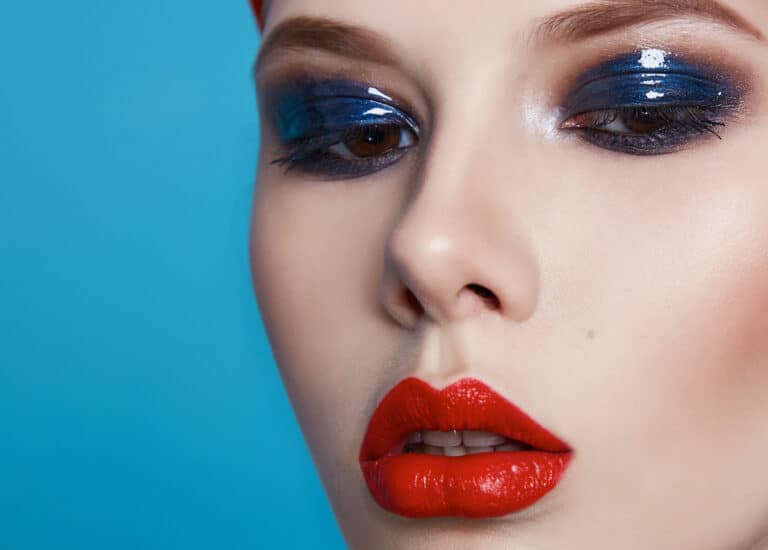
For example, if you love doing a smoky, glam, or creative look, adding eyeshadow under your eyes can create a daring, bold, or captivating result.
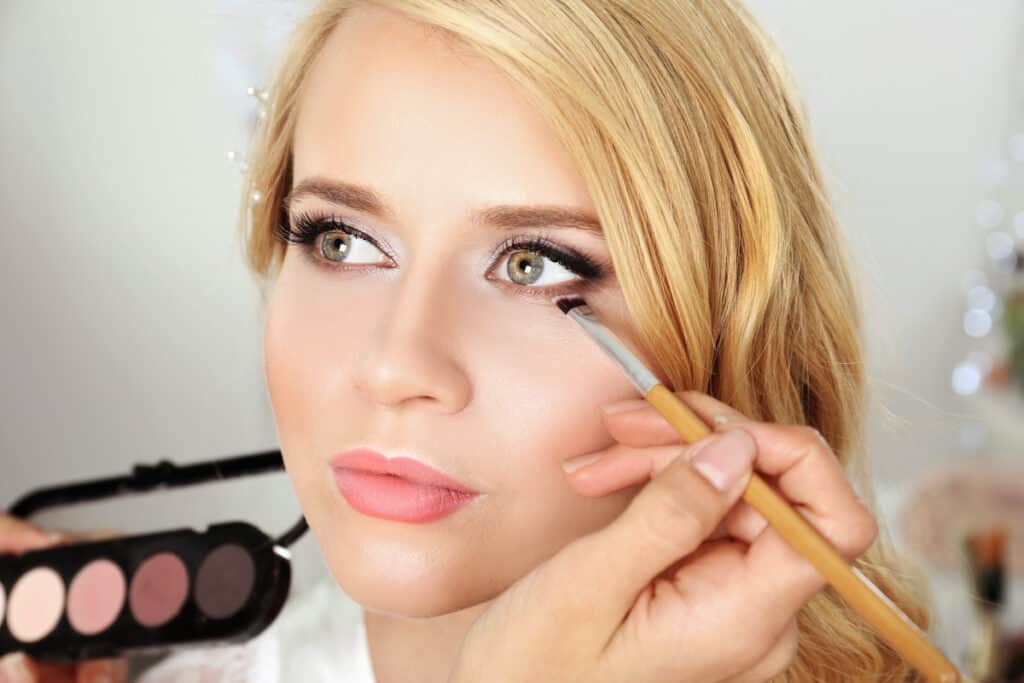
For a soft, minimal look, lower-lash-line shadow is optional and can be skipped entirely or kept very close to the lashes.
For subtle definition, use a shade only slightly deeper than your skin tone along the outer lower lashes.
A small touch of eye-area shimmer on the skin near the inner corner can add brightness. Keep it away from the tear duct and avoid spreading it across textured under-eye skin if you dislike the effect.
Use the following placement ideas as starting points, then check the result with your eyes open.
When To Apply Eyeshadow Under Your Eyes
Applying eyeshadow along the lower lash line can help connect detailed eye looks and make the upper and lower portions feel more cohesive.
For example, smoky eyes, graphic liners, and colourful looks can have an extra layer of depth and dimension when you add under-eye eyeshadow.
Changing the depth and direction of lower-lash-line shadow can make the eyes appear rounder, more elongated, or more defined, but it cannot literally create more lid space.
For a more elongated effect, concentrate color toward the outer third and connect it softly to the shadow at the upper outer corner.
For a rounder, softly framed effect, try a sheer line beneath more of the eye. Keep the darkest pigment nearest the lashes so the lower edge stays light.
For example, someone with deep-set eyes who wants a more open effect may prefer softer lower-lash-line shadow and, if the product is specifically labeled for the waterline, a lighter-toned pencil there.
Protruding eyes can also wear lower shadow in many ways. Keeping color close to the lashes can create definition, while extending it outward can visually elongate the eye if that is the effect you want.
Use small amounts of product and pause to look straight ahead. A blend that looks narrow when you look down may appear wider with your eyes open.
This will also give you the most control so you can blend the eyeshadow into your ideal shape, depth, and pigment level.
When Not To Apply Eyeshadow Under Your Eyes
Skip lower-lash-line shadow if the area is actively irritated, your eyes are watering, or the product stings. A natural look can include under-eye shadow or leave it out entirely.
The FDA advises stopping an eye cosmetic if it causes irritation and seeking medical advice if irritation persists. Avoid eye makeup during an eye infection or when the surrounding skin is inflamed.
For a no-makeup-makeup look, leaving the lower lash line mostly bare can keep the finish soft and minimal.
If you want more brightness, use a small amount of concealer where you actually need coverage and keep reflective eye products away from areas where they emphasize texture.
Eyeshadow under the eyes is optional, and too much powder can emphasize dryness, fine lines, or existing texture.
The color also changes the mood of the look, so choose a shade that supports the effect you want rather than treating any color as universally wrong.
If shadow makes dark circles more noticeable, keep the color higher and narrower, or try only the outer third.
You can also skip lower shadow and keep the definition on the upper lid. Neither approach is required for a finished look.
Color Selection
Choose a shade for the contrast it creates against your skin tone, rather than assuming a particular brown or beige suits everyone.
Reds, pinks, and purples can create striking lower-lash-line looks, but placement matters because shades close to natural redness can intensify the appearance of irritation on some people.
If you are new to these colors, start with a muted version or a small amount close to the lashes and build gradually.
Taupe and brown are useful starting points. A medium brown may look subtle on deeper skin and quite dramatic on fair skin, so test a sheer layer first.
This matte palette is one option to compare for neutral looks. Check the current shade selection and choose a midtone you can use softly; you do not need black for everyday definition.
Black eyeshadow gives stronger contrast than a soft midtone and can quickly dominate the lower lash line.
For easier control, place a sheer brown first, then press a tiny amount of black only where you want the deepest definition.
Because black eyeshadow has strong contrast, a small amount can look dramatic quickly, so build it slowly and blend the edge carefully.
Matte shadow is a useful starting point for a soft edge. Fine shimmer gives a different finish, but loose particles can be harder to control. Check the eye-use directions for every shade, including pigments sold within palettes.
Placement
1. Prepare the skin. Let your usual skincare settle and avoid leaving a thick, slippery layer beneath the lashes. If you use an eye primer there, check that its directions permit that placement.
2. Load lightly. Pick up a little shadow with a small brush and tap off the excess. Avoid blowing on the bristles.
3. Place the color. Press short strokes onto the skin just below the outer lower lashes. Keep the brush outside the waterline and use the remaining pigment as you work inward.
Start with the outer third if you want a low-commitment version. You can extend the line once you have checked how it looks with your eyes open.
4. Soften the edge. Use a clean small blending brush with short, light strokes along the bottom edge. Blend the border rather than sweeping the color down onto the cheek.
5. Check before adding more. Look straight ahead in good light and compare both eyes. Add depth near the lashes only if the result needs it.
For a smoky finish, build a little width gradually. For a lifted effect, keep the outer connection close to your upper shadow rather than pulling it downward.
Too much pigment at once can make the lower lash line look heavier or wider than intended.
To correct a low edge, gently lift away excess with an eye-makeup-remover-dampened cotton swab, keeping it away from the eye. Let the skin dry before touching up concealer; covering loose shadow directly can turn it muddy.
Tools
You do not need a large brush collection. One small placement brush and one clean brush for blending are enough to practice.
Choose soft bristles that do not scratch. A brush that feels comfortable on your hand can still be too stiff for the eye area.
Smaller brushes make it easier to keep placement precise and control the softness of the blend.
For example, thin liner brushes, pencil brushes, and small blending brushes work well for keeping the shadow close to the lower lashes.
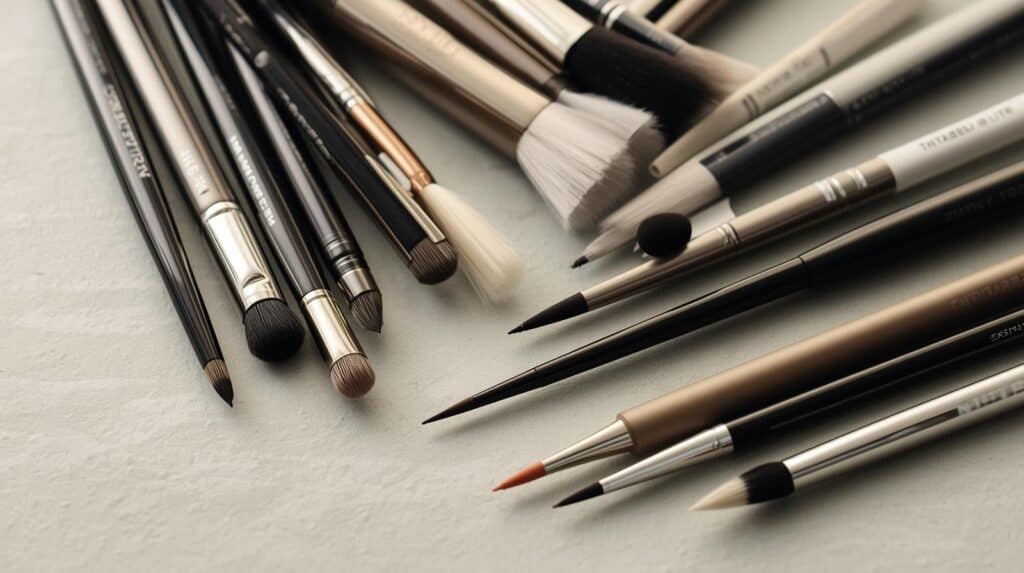
A flat detail brush creates a narrow line; a pencil brush gives a softer, slightly wider smudge. Choose the smallest shape you can control comfortably.
A small brush can place pigment close to the lash roots, but avoid poking the eye or pushing powder directly into the eye surface.
Use a separate clean brush or sponge for concealer so leftover shadow pigment does not spread into your base.
Concealer
If you prefer less product, you do not need to cover every bit of natural under-eye color or discoloration.
Leaving some natural under-eye depth visible can create soft definition, especially if you place concealer only where you want brightness.
Start with a small dot of concealer where the discoloration is most noticeable, rather than moving the product lower by default.
Place concealer where you need coverage rather than coating the entire lower lash line. The exact placement depends on where your discoloration sits.
Then, blend out your concealer, avoiding your lower eyelashes.
This keeps some natural depth near the lower lashes while brightening selected areas with concealer.
Using less concealer can reduce how much product has the opportunity to collect in fine lines, although creasing can still happen depending on formula, skin texture, and application.
If you expect fallout from a dark shadow, do your eye makeup first, clean the area, then apply concealer. Otherwise, either order can work if you keep the layers thin.
Bronzer As Eyeshadow
A warm neutral shade is another way to try lower-lash definition without a dramatic smoky finish.
You can also use a bronzer-like eye shade for a soft monochromatic effect.
If your bronzer is specifically labeled as safe for use around the eyes, it can create soft warmth and definition similar to neutral eyeshadow.
Use the same small-brush technique and keep the product close to the lower lashes.
Repeating a similar warm tone on the cheeks and eyes can make the look feel coordinated without matching every product exactly.
If you are considering this bronzer duo, check the exact product’s intended uses before applying it near the eyes. If eye-area use is not specified, keep it on the face and choose a similar eyeshadow shade instead.
Common Mistakes
Loading too much powder: this makes fallout and an overly dark first stroke harder to avoid. Tap off excess and build in thin layers.
Blending with a brush that is too large: it can spread pigment beyond the intended line. Switch to a smaller clean brush before trying to soften the edge.
The shade of eyeshadow changes the intensity and mood of the lower lash line. Using two related shades can create a softer gradient, but one shade can work perfectly well too.
If you want a gradient, place the deeper shade closest to the lashes and soften the lower edge with a lighter shade or a clean brush.
Applying powder over wet concealer: it may grab unevenly. Let the base settle before adding shadow, or finish your eye makeup before concealer.
If your eyeshadow looks muddy, the cause may be too much product, a dirty brush, too many overlapping colors, or excessive blending.
Blend only until the edges are softened and the shades still look distinct if that is the effect you want.
Wash your brushes regularly and let them dry fully. Do not share eye makeup or tools.
Clean bristles also help keep yesterday’s dark or colorful shadow out of today’s neutral look.
Practice Makes Perfect
Under-eye eyeshadow can be customized to create anything from subtle definition to a dramatic smoky effect.
Experiment with color, brush size, width, and placement until you find the version that suits your style and feels comfortable.
However, eyeshadow under the eyes isn’t always necessary.
Try one small change at a time, such as switching from black to brown or shortening the line to the outer third. That makes it easier to see what you prefer.
Check the makeup at a normal viewing distance, not only in a magnifying mirror. A slightly imperfect blend can look soft and balanced from farther away.
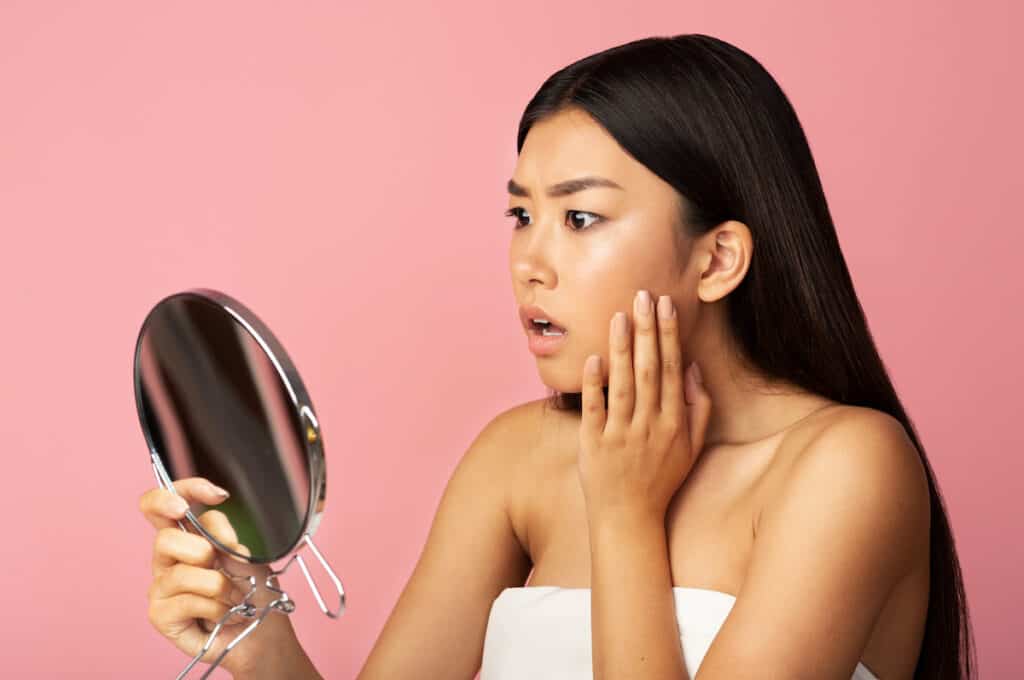
The main takeaway is that small amounts and controlled placement make the technique easier to adjust.
Remove eye makeup gently before bed with a remover intended for that area, following its directions. Avoid rubbing repeatedly at the lower lashes.
If you try the technique, start close to the lashes and build outward only if you want more drama.
Related Articles
One Colour Eyeshadow Look – Does It Work?
What Are Eyelash Extensions Made Of?
Allergic Reaction To Eyelash Extensions – What To Know